![]()
The Grisly Grotto is the fourth level of the Dimension of the Doomed. As the name suggests, the level's main component is a cavern-like central chamber, which houses one of the largest and deepest Lakes in the game. There are several underwater structures, a series of corridors, a wharf, and a small fortress-like building accessible from the cave area.
In this level, the player finds their first Super Nailgun, and must find a Silver Key to proceed deeper into the dimension. The player must swim under the large pool of Water, being careful not to drown.
This level leads to the Secret Level of the Dimension of the Doomed, Ziggurat Vertigo. Being the first hidden level, it is more blatant than the ones found in later Episodes.
Quick Level Completion
- Open the door and follow the staircase.
- At the bottom go through the doorway to the central lake
- Swim in the water underneath the platform to a room
- Follow the rooms to an Elevator
- At the top of the Elevator, take the left passageway of the intersection and press the Button to open the doorway on the right passageway.
- Follow the opened doorway to the Silver Key
- Jump into the lake and swim straight across to the Silver Door
- Follow the corridor to an Elevator.
- At the top, go up the stairs and cross the bridge to the exit.
- If wishing for Secret exit, at top of elevator press the five Floorplates.
- Drop down either wall that has opened up and press the Button.
- Repeat for the other wall.
- Return to the lake and swim to the newly opened corridor.
- Swim to the Secret exit room.
Walkthrough

E1M4 - the Grisly Grotto
Pick up the three 25 Health and Shells. Go through the Door, collect the Shells, and defeat the Knight at the bottom of the stairs. However, you may also kill the Knight while hitting the 2 Buttons to the sides of the tower (#1). Pick up the Nails and Shells, then go into the next room. Collect the Nails and 25 Health. Beware of the Scrag, and don't grab the Biosuit until after you kill it. It is not strictly necessary, but can be useful if you aren't good at navigating under the Water. Kill the Ogre on the bridge that holds the Key, but you cannot access it from here as it is too high, and it may not be on the bridge but in the room before. Under the Water there is a small hole leading to a tiny alcove (#2).
Swim down into the first main building and go up the ramp. You should be able to do this without coming up for air. Grab a 15 Health and 25 Health, and down the hall the Nails and Super Nailgun. Kill the Ogre down the hall. Continue to the end and walk onto the passageway, but don't enter the building. First, defeat the Ogre standing outside just out of your line of vision. Go to the corner he was at and grab the Shells and 25 Health. Dive into the water at the opposite end to grab the Nails.
Once you go into the building be ready for a Platform with an Ogre to rise out of the Water quickly. Collect the Nails in this room. Grab a 15 Health by the Elevator. Go up the Elevator and kill the 2 Knights. Grab the 2 Nails to the left. Go to the room to the left. Collect a 15 Health and 25 Health, and push the Button. Go through the unlocked Door and defeat the nearby Ogre. Collect the 2 Nails, and the Shells by the Door. Open the Door with a pentagram on it and kill the Scrag. Collect a 25 Health by the Door, and the Shells by the Key. Take the Silver Key.
Go under the Water and through the cave in front of you. Defeat the 2 Knights. Grab the Nails to the left, and the two 25 Health and Shells to the right. Behind the Door is another Knight. Go right and collect the Shells and 15 Health. Press the Floorplate to open a panel with Yellow Armor to the left of the Door beside the Nails. Defeat the Scrag in the next room down the staircase and grab the Shells. As you cross the bridge beware of the Slime and of the ledges, where 2 Ogres will bombard you once you cross the light, one to the left and one to the right. Collect the two 25 Health by the Elevator.
Go up the Elevator and kill the 2 Knights. Press all five Floorplates, and beware of the Nail Traps. Drop to either passageway which leads to where the Ogres were and press a Button. Then go to the other side and hit the other Button. The right holds two 25 Healthand Nails, and the left holds Rockets. Go back to the lake for a passageway leading to E1M8, or ignore the Exit Gate, instead collecting the Grenade Launcher and 25 Health (#3). Once you've done that, go back to the Nail Trap room, go up the staircase and collect the Nails. Once you go through the Doors, kill the 2 Knights. Pick up the items, Shells to your right and a 25 Health to your left, and cross the bridge. Go slowly, a Scrag will spawn behind you. Collect the Shells by the stairs. Climb the staircase, and prepare for a close encounter with a Knight. Pick up the Shells and go through the Arch to E1M5. However, use (#3) to exit to E1M8 instead if you desire.
Differences from Easy to Normal
- A Scrag is behind the 1st Door
- 2nd Scrag at Lake
- Ogre by Silver Door if touched before going for the Key
- 2 Knights just before building with Ogre on Platform that rises
- 2 Knights next to Elevator just after Ogre on Platform that rises
- Ogre by Button that unlocks Door that leads to corridor to Key
- After Button hit that unlocks Door that leads to corridor to Key, a Scrag and Knight spawns.
- Another Scrag spawns when the Door with a pentagram is opened
- 3rd Knight in area after cave
- Ogre to the right past the Silver Door
- Ogre and 2nd Scrag beside Slime area
- 2nd Ogre on right side ledge of Slime area
- 3rd Knight in 5 Floorplate room
- Knight on staircase by 5 Floorplate room
- Ogre to left of above after cave area
- 2nd Scrag spawns when crossing bridge of above cave area
- Ogre instead of Knight at E1M5 Arch
Differences from Normal to Hard/Nightmare
- After Scrag at entrance is killed, another Scrag spawns right behind where the player spawned into the level
- 2 Ogres on platform of (#1). Both will shoot before Secret is found as well however
- A Scrag above Water and (#2)
- 2 Fiends instead of 3 Knights at Silver Door
- Ogre next to Super Nailgun
- 3rd Knight just after Elevator on way to Silver Key
- After Button hit that unlocks Door that leads to corridor to Key, a 2nd and 3rd Scrag as well as a 2nd Knight spawns
- 2 Scrags spawn after Key is taken
- 2nd Ogre on left side ledge of Slime area
- 4th Knight in 5 Floorplate room
- A Wall opens up in the 5 Floorplate room revealing a Fiend and Shells
- 2nd and 3rd Ogre above after cave area
- Knight and 2nd Ogre by E1M5 Arch
Secrets
| Secrets | ||
|---|---|---|
| (#1) | 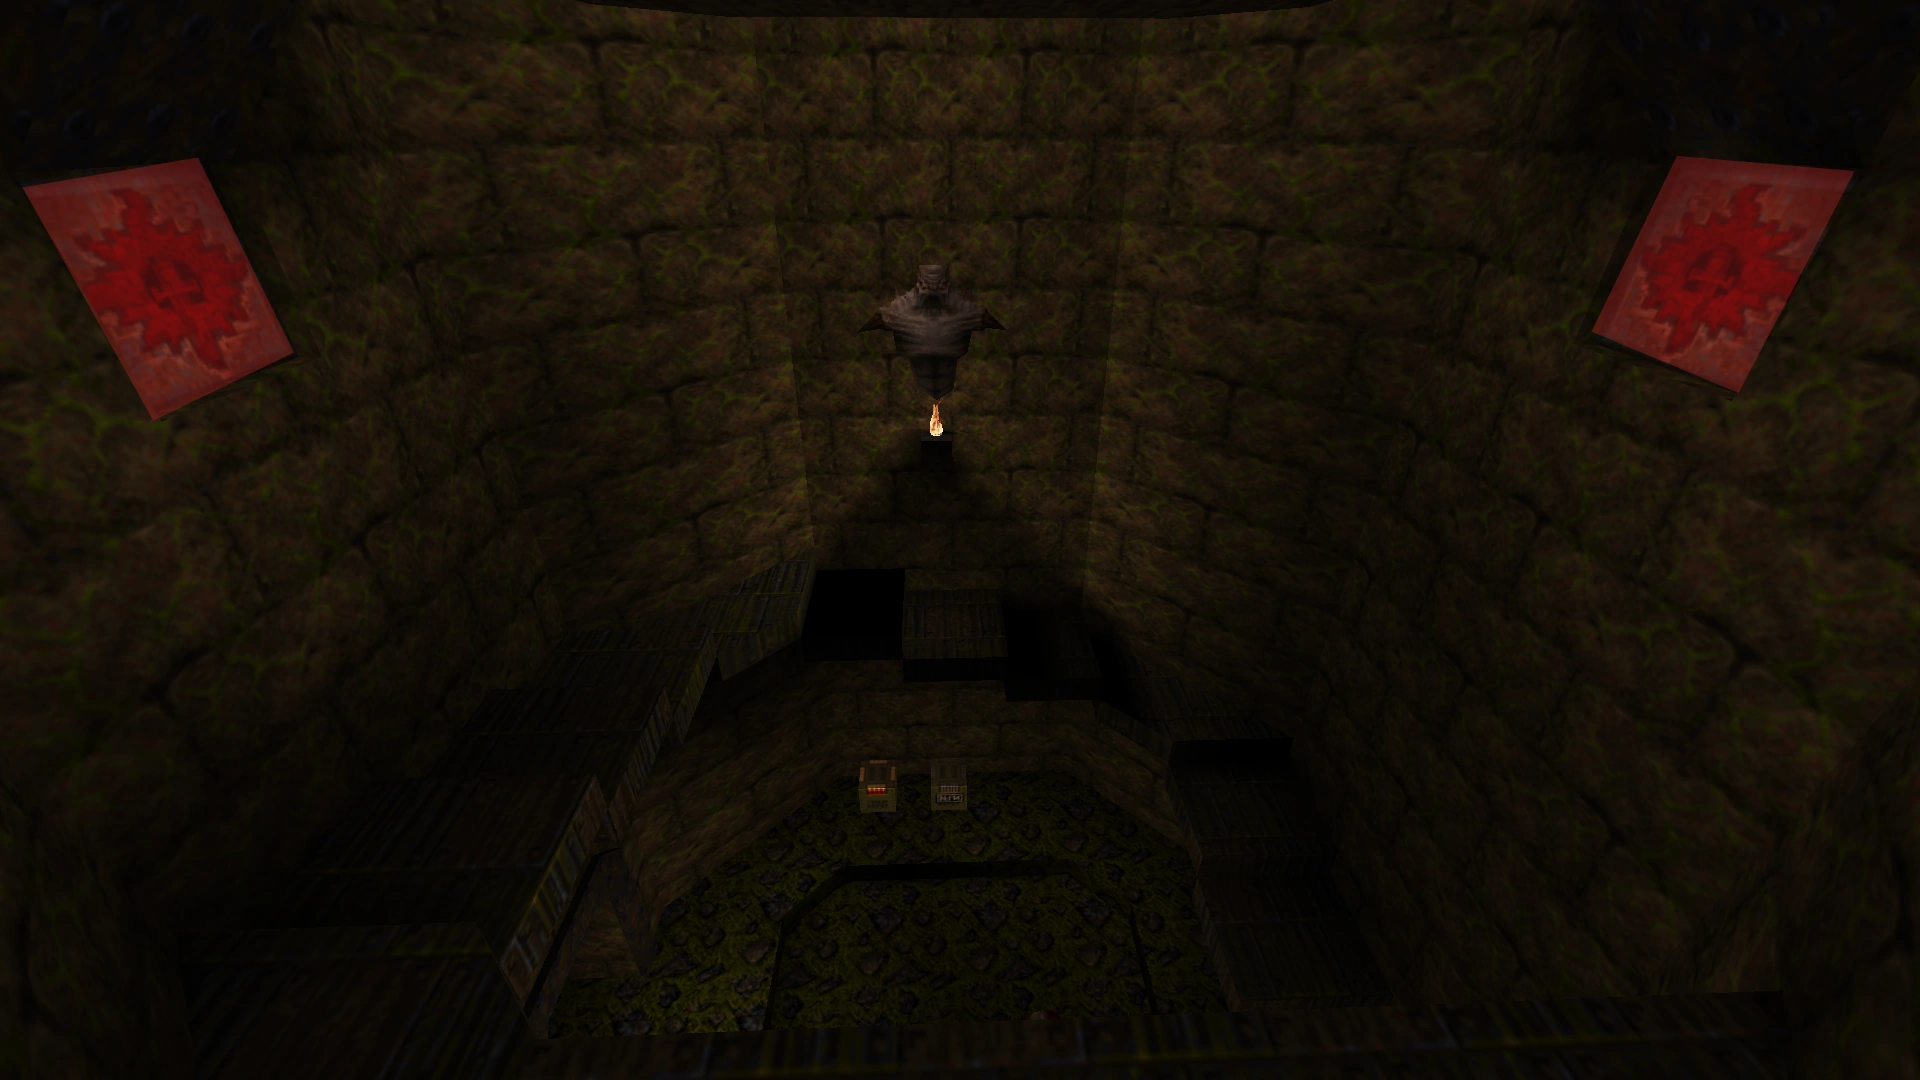 |
At the start of the level, in the tower, fire at the two Buttons to drop the Platform which has a Yellow Armor. |
| (#2) | 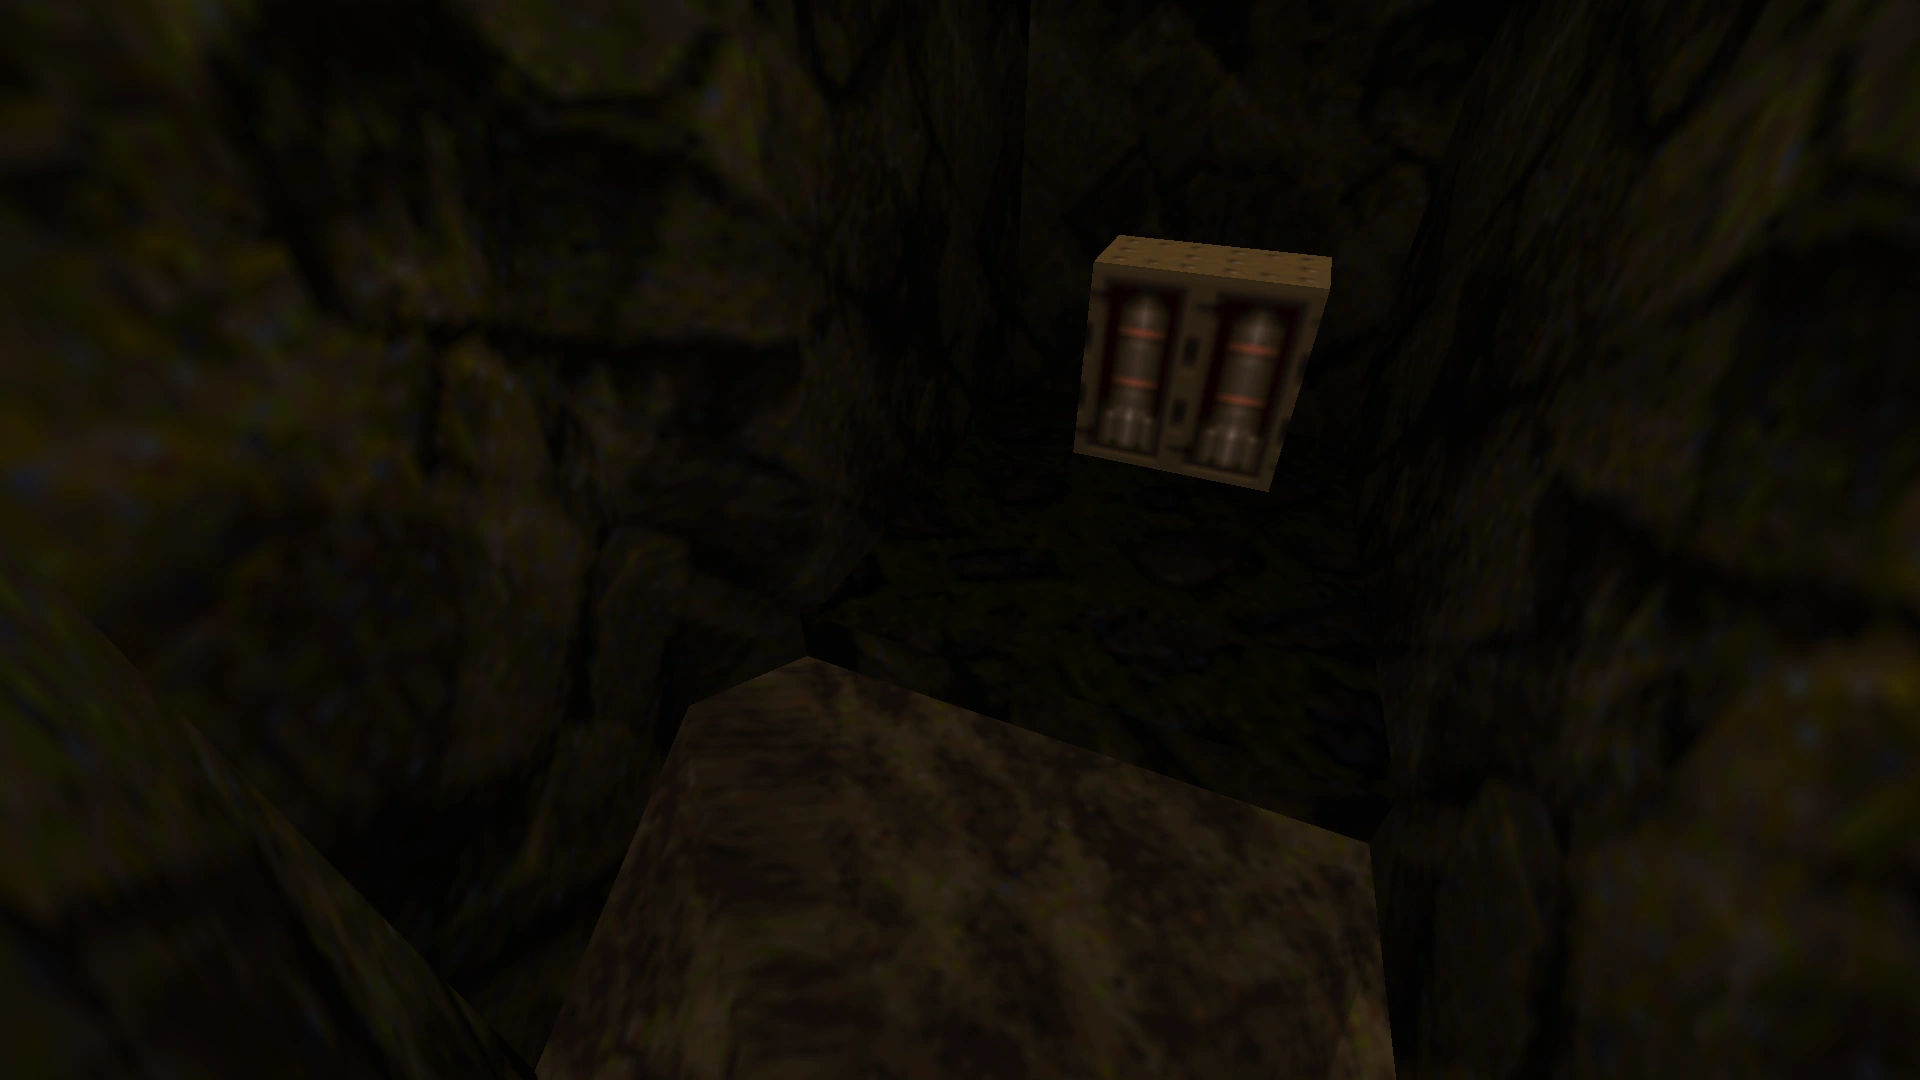 |
The lake contains a small place set in the sides. Swimming into it and then up leads to Rockets. |
| (#3) | 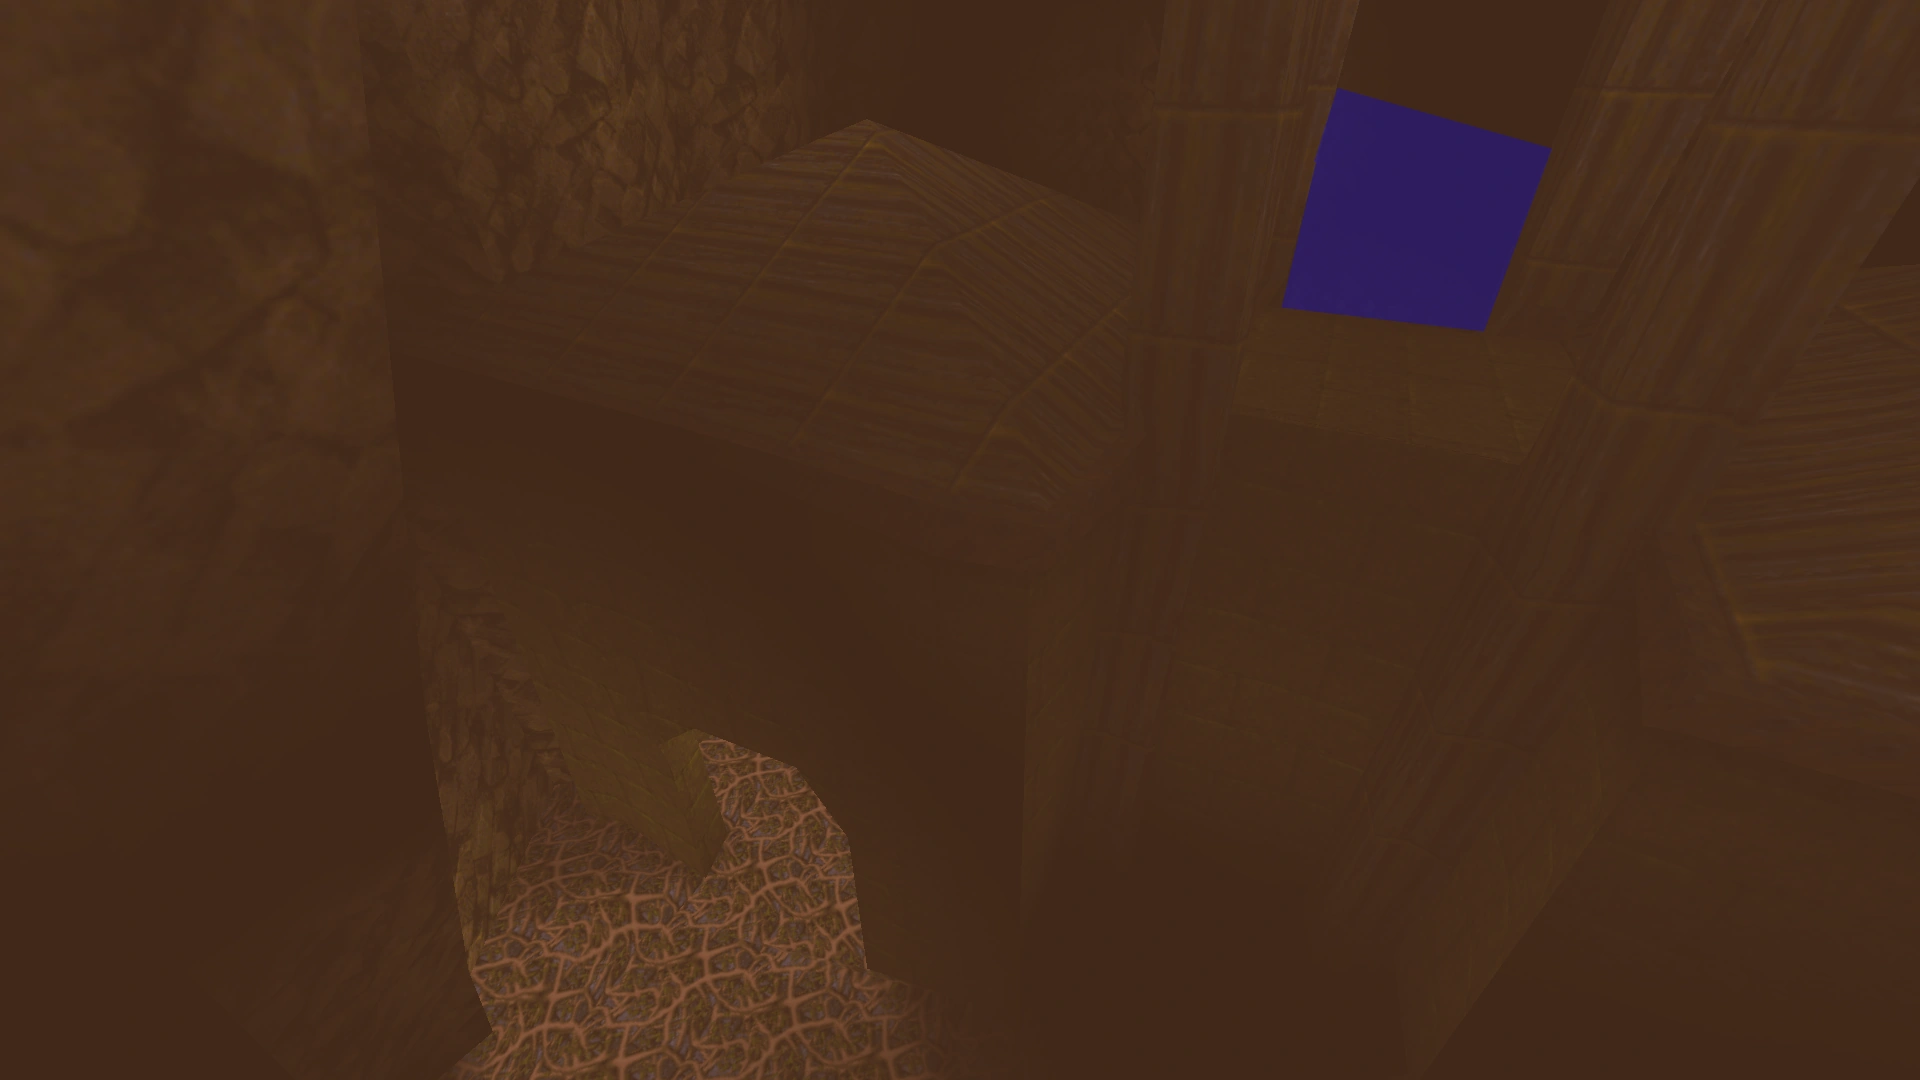 |
After you complete the sequence with the Nail Traps, there are two passageways on either side leading to the two ledges where the Ogres were. Press the switches in each to open a large cave underwater in the lake. This contains a Grenade Launcher, 25 Health, and the Secret Exit Gate to E1M8. |
Enemies
| Type | Count | ||
|---|---|---|---|
| Easy | Normal | Hard/Nightmare | |
| Knight | 11 | 18 | 19 |
| Scrag | 4 | 10 | 16 |
| Ogre | 7 | 14 | 21 |
| Fiend | 0 | 0 | 3 |
| Total | 22 | 42 | 59 |
Glitches
- On Normal and higher Difficulties, an Ogre will never appear if the player goes for the Silver Key before they go to the Silver Door area. The problematic Ogre patrols around in a box inaccessible to the player that is sealed off by three Movable Walls. The first opens up when the player kills the Knight or Fiend to the left of the Silver Door. The second is open by default, allowing the Ogre to continue past it, but closes as soon as the player hits the Ogre that rises out of the Water. This means that the sequence breaks if the player goes to the area where the Platform rises out of the Water before killing the Monsters by the Silver Door.
- A well placed Grenade on the entrance platform to the Water room can allow the player to Grenade Jump to the Silver Key.
Deathmatch

E1M4 - the Grisly Grotto (Deathmatch)
Differences
- Nails on opposite side of Water from Super Nailgun
- Pentagram of Protection after Elevator on platform to Rocket Launcher
- Rocket Launcher replaces Silver Key
- Only a 25 Health in Slime room, but a Nailgun is there as well
- Ring of Shadows at (#3)
- 2nd Nails above stairs of 5 Nail Trap room
- Grenade Launcher by stairs to E1M5 Arch
Spawn Locations
- Start
- By stairs to E1M5 Arch
- Room after Elevator on platform to Rocket Launcher
- On opposite side of Water from Super Nailgun
- By Silver Door
- Room with Rocket Launcher
- Slime room
- 5 Nail Trap room
Demo
This is the level that the second Demo is played. The level is played on Normal difficulty with the default equipment of 25 Shells and a Shotgun. The player collects the Shells to the left of the start before going through the Door straight ahead. The player is met with a Scrag, whom he fires upon with his Shotgun. Standing in the narrow doorway, he takes a few hits from the Scrag before it goes down, lowering his Health to 82. As the Scrag goes down, he fires on the Platform above. He then walks forward to look over the edge of a staircase. Seeing a Knight patrolling near the middle of the room on the lower floor, he backs up once more. The player then gets the first Secret by hitting the two Shootable Buttons to his left and right. The Platform above his head lowers and crushes the Knight as the player moves forward to watch the Platform land on the lower level. The player descends the staircase to collect the Shells and Nails on the lower floor. He then hops on the lowered Platform to collect the Yellow Armor. The player then proceeds into the next room.
The player collects the Nails and 25 Health while temporarily ignoring the Biosuit. He looks over the pool of Water as a Scrag starts firing at him. Returning fire, the player loses 3 health before the Scrag goes down. As the corpse drops into the Water, the player follows. The player then starts swimming for an open doorway visible at the bottom of the Water. As the player gets close to the doorway, another Scrag fires on him, decreasing his Health to 94. The player returns fire while remaining under the Water. The Scrag hits the player two more times, dropping the player's health to 88, before the Scrag is killed. Upon the death of the Scrag, the player starts to drown from being under the Water for too long. The player continues with their original plan, swimming through the doorway and heading to the surface at 78 Health. The player then proceeds down a corridor to collect Nails and a Super Nailgun before leaping over another pool of Water. The player just misses the corridor on the opposite side, forcing them to momentarily swim in the Water to get to the corridor. As the player enters the next corridor, an Ogre comes around the corner further up. The player starts firing upon the Ogre with the Super Nailgun and kills it. He then enters the next room and kills 2 Knights. An Ogre is heard and the player turns to his left as it walks around a corner. The player rushes towards the Ogre, but gets hit with a projectile in close proximity to the Ogre, lowering the player's Health to 67. The player kills the Ogre as his Super Nailgun runs out of Nails, resulting in him switching to the Shotgun. Though the player still fires once at the Ogre that was just killed. The player backs up into some Shells before proceeding to the next area.
As the player walks into the room, an Elevator raises an Ogre from a pool of Water. The player immediately moves to the left to collect some Nails and switches to his Super Nailgun, which he uses to fire on the Ogre. The player Circle Strafes the Ogre and kills it. The player moves into the next room and ascends up an Elevator as the 2 Knights in that room get alerted to his presence. 2 Knights come charging at the player as the Elevator rises to the top. The player fires his first shot with the Shotgun as the Demo ends.
External Links
| E1M3: The Necropolis | Quake Levels | E1M5: Gloom Keep E1M8: Ziggurat Vertigo |