![]()
The Dismal Oubliette is the sixth and final level of The Realm of Black Magic. The level is divided into four parts, accessible from a central bridge above a pit of Water. After leaving the small starting area, players encounter a small fortress-like structure built entirely underground (shown in the screenshot). The third area of the Oubliette is a multi-story tower with several rooms on each floor and an Elevator perpetually moving between them. The final area is a slow Elevator descent into a deep shaft, leading the player towards the final confrontation against a Vore and the second Rune.
It is second map to contain a Rune. In this level the player must collect the Gold Key and the Rune. This level introduces the Vore as a boss guarding the Rune. On normal and higher skills, there are 2 Vores at the end. As the Vore later becomes a regular enemy, it is made to be like the introduction of the Baron of Hell in Doom. [1] The map is made around a central bridge in the center of the map, which must be changed a couple of times to get to the slow moving Elevator leading to the Rune.
Quick Level Completion
- Run around the wall in the starting wall and touch the Pillar to lower it.
- Go through the opened doorway in front of the Pillar and cross the bridge.
- At the intersection, go up the stairs to the right.
- Press the Button, then run quickly to the Button at the top of the raised stairs on the left corridor of the intersection.
- Press the Button, then go through the opened door behind you.
- Drop into the Water and follow the corridor to an intersection.
- Follow the left corridor and jump up small ledges in the wall to get to the top of the tower.
- Press the Button at the top to the right, then drop through the hole to the left to return to the left corridor.
- Return to the intersection and take the right corridor, following it to an Elevator.
- Follow the corridor to a second Elevator.
- At the top, drop through a hole and push the Pillar.
- The Wall will open, go though the doorway and go through the next newly opened doorway to the right.
- Follow the corridor to a window, then drop to the floor below to return to the area overlooking the two towers.
- Return to the bridge at the start and cross to the side it has switched to.
- Follow the corridor to the left to an Elevator.
- At the bottom go right and follow it to a Button on a wall opposite the Gold Door.
- Push the Button, then step on the Elevator beside.
- Ride it to the second floor, and follow the corridor to a Button.
- Push the Button and return halfway, going through the newly opened doorway to find another Button.
- Push the Button and return to the Elevator.
- Ride the Elevator to the third floor.
- At the top, follow the corridor to the Gold Key.
- Return to the Gold Door by passing through the the newly opened Wall to the left.
- Open the Gold Door and push the Pillar, then return to the central bridge.
- Cross the bridge to the room it is now leading to.
- Go on the far side to start the Elevator on a slow descent.
- At the bottom, the Wall will open to reveal the Rune and the exit.
Walkthrough

E2M6 - the Dismal Oubliette
Collect a 25 Health and Shells to the left, and a 25 Health and Green Armor to the right. Move to the other side of the wall on either side straight ahead and kill the Fiend. Press the Pillar in the middle to lower the Bar on the far wall, as well as raise a platform beyond. Collect the Shells on the platform and turn right on the middle of the platform to collect the Nails. This is the center bridge of this level, and will be visited a couple of times. Kill the Death Knight that comes out from the next room and jump into the Water. Collect the two 25 Health on the ground, as well as the Yellow Armor and Cells on the rafters. Use one of the four Elevators located in the corners of the rafters to get back to the center bridge.
Enter the right room from the main platform and take the right passageway. Turn left at the end and kill the Fiend up the stairs. Collect a 25 Health, Nails, and push the Button at the top. Take the left passageway of the right room from the main platform and collect the Shells. Turn right and go down the stairs, turning right at the bottom again to a platform with three 25 Health and Rockets. Go up the stairs to the right created by pushing the Button earlier to press another Button. This opens a Wall just behind you. Kill the Fiend and collect the 2 Cells to the left and Rockets to the right. Kill the 2 Ogres in the two towers, one for each, and jump into the Water. Kill the Zombie straight ahead, and the Zombie to the right. Collect a 25 Health and Shells to the left, and a 25 Health and Rockets to the right. Kill the Zombie in the next room at the left and right intersection. Take the left passageway to a room with a 15 Health and 25 Health. Jump on the tiny platforms to the top of the left tower. Collect the Nails and Rockets and press the Button to the right of the room. To the left is a 25 Health and a hole to drop down to the bottom of the left tower. Return to the intersection and follow the passageway to the bottom of the right tower. Collect the Shells and 25 Health, as well as kill the Fiend. Kill the Ogre on the platform above. Jump into the Water and go to the right under the platform you were on to find a small room (#1). Use the Elevator to get to the upper platform, and go around up some stairs and another Elevator to reach a higher floor with Shells. Drop into the room at the end to get to the window of the right tower while collecting the Rockets and pushing the Pillar changing the platform setup of the center bridge. A Wall shall open to the right to allow you to return to the second floor platform of the right tower. A Wall has opened up on this platform to the right to a new passageway. Collect a 25 Health and go up the stairs to the right. At the top collect the Shells and Nails, and kill the Zombie. Follow the signpost to the right to drop to the ground overlooking the two towers. Return to the center bridge.
Take the straight way from the starting position, which cannot be returned to as the position of the bridge has shifted, of the center bridge. Collect the Yellow Armor and kill the Death Knight to the right, as well as collect the Nails to the right. The Door is locked, so follow the left passageway down the stairs to the right to an Ogre and an Elevator with a signpost showing the way to the Gold Key. At the bottom turn to the right and collect the Shells and Nails. Take the left or right passageway and collect the two 25 Health, one for each side, and kill the Death Knight that patrols this room. The Gold Door is at the end of the room, and on the opposite wall is a Button to unlock Bars on the second floor. Use the Elevator in the middle of this room to get to the second floor, and turn right onto it to kill the Ogre. Turn left, collect a 25 Health, and kill the 2 Ogres through the Bars. Shoot the Wall to the right to enter another hallway (#2). Turn left and collect a 25 Health. Turn left and collect the Shells. Turn right twice and kill the Death Knight in the next room. Collect the Nails and Rockets, and press the Button to the right. Return to the now unlocked Bars by (#2). Follow the left passageway around the wall to a room with a Fiend, Shells, 25 Health, and a Button. This unlocks the third floor, thus return to the Elevator and go to the third floor. Kill the Ogre at the top. Collect the Nails and Thunderbolt, and go up the stairs. Turn right into the next room, kill the Death Knight, and collect the two 25 Health. Turn right and collect the 3 Nails and 15 Health. Turn right again through the doorway and kill the Fiend. Collect the Gold Key. A hole here returns to the second floor, and a Bar lowers returning to the forward room from the center bridge. Return to the Gold Door. Kill the Fiend behind. Collect the Shells, Rockets, 15 Health, and Cells. Push the Pillar to once again change the setup of the center bridge. Return to the center bridge.
Take the left way from the starting position, which cannot be returned to as the position of the bridge has shifted, of the center bridge. Collect a 100 Health, Nails, and Rockets by the column in the middle of the room, and kill the Zombie. Collect the Cells on the far side by the column, and the room will lock you in with a Fiend. As the room descends, it will get to an area with 4 Nail Traps on the column, and a Fiend will spawn in. A little later 2 Zombies will spawn in. Eventually the Elevator will stop. Go to the far wall from where you entered the Elevator and the Wall will move, revealing the room with the Rune. It is however guarded by a Vore, the boss of The Realm of Black Magic. Collect the Nails, 25 Health, and Rune by the Exit Gate.
Differences from Easy to Normal
- Fiend on stairs to right of left passageway from right room from central bridge
- Scrag at bottom of right room from central bridge
- Ogre by Button to open Wall in right room from central bridge
- Zombie in Water to left of two towers
- 2nd and 3rd Zombie at intersection of two towers
- Scrag below left tower
- Fiend below right tower before Bars
- 2 Death Knights on upper floor of left tower
- Fiend to left of upper floor of left tower
- 2nd Zombie in Water of right tower
- 2nd Ogre on second floor of right tower
- Ogre on top floor of right tower
- Ogre and Fiend just behind Wall that opens leading to alcove overlooking ground below the two towers
- 2nd Zombie and Ogre on alcove overlooking ground below the two towers
- Scrag and Ogre at Elevator entrance to Gold Door room
- Fiend on second floor of Gold Door room
- Death Knight to left of main passageway on second floor of Gold Door room
- 2nd and 3rd Death Knight, Fiend, and Zombie in room with Button that unlocks Bars on main passageway on second floor of Gold Door room
- Fiend at top of stairs in passageway just after Thunderbolt
- 2nd Death Knight in room just before Gold Key
- Shambler spawns when slow final Elevator locks instead of Fiend
- 3rd and 4th Zombie spawn on slow final Elevator descent
- 2nd Vore in end room
Differences from Normal to Hard/Nightmare
- Ogre by Pillar in starting room
- 2nd Death Knight patrolling right room from central bridge
- Shambler just behind and to the right of the Wall that opens to the two towers
- 2nd and 3rd Zombie in Water in entrance to intersection of two towers
- 2nd, 3rd, and 4th Zombie in Water to right of two towers
- 2nd Fiend below right tower before Bars
- 3rd and 4th Zombie in Water of right tower
- 3rd and 4th Ogre on second floor of right tower
- Ogre on top floor of right tower replaced by Shambler
- 2nd Scrag at Elevator entrance to Gold Door room
- 4th Death Knight and 2nd Zombie in room with Button that unlocks Bars on main passageway on second floor of Gold Door room
- 2nd Fiend in Button room that unlocks third floor of Gold Door room
- 2nd Fiend at top of stairs in passageway just after Thunderbolt
- 3rd Death Knight in room just before Gold Key
- Shambler behind Gold Door
- 2nd Shambler spawns a couple of seconds after first Shambler when slow final Elevator locks
- 5th and 6th Zombie spawn on slow final Elevator descent
Secrets
| Secrets | ||
|---|---|---|
| (#1) | 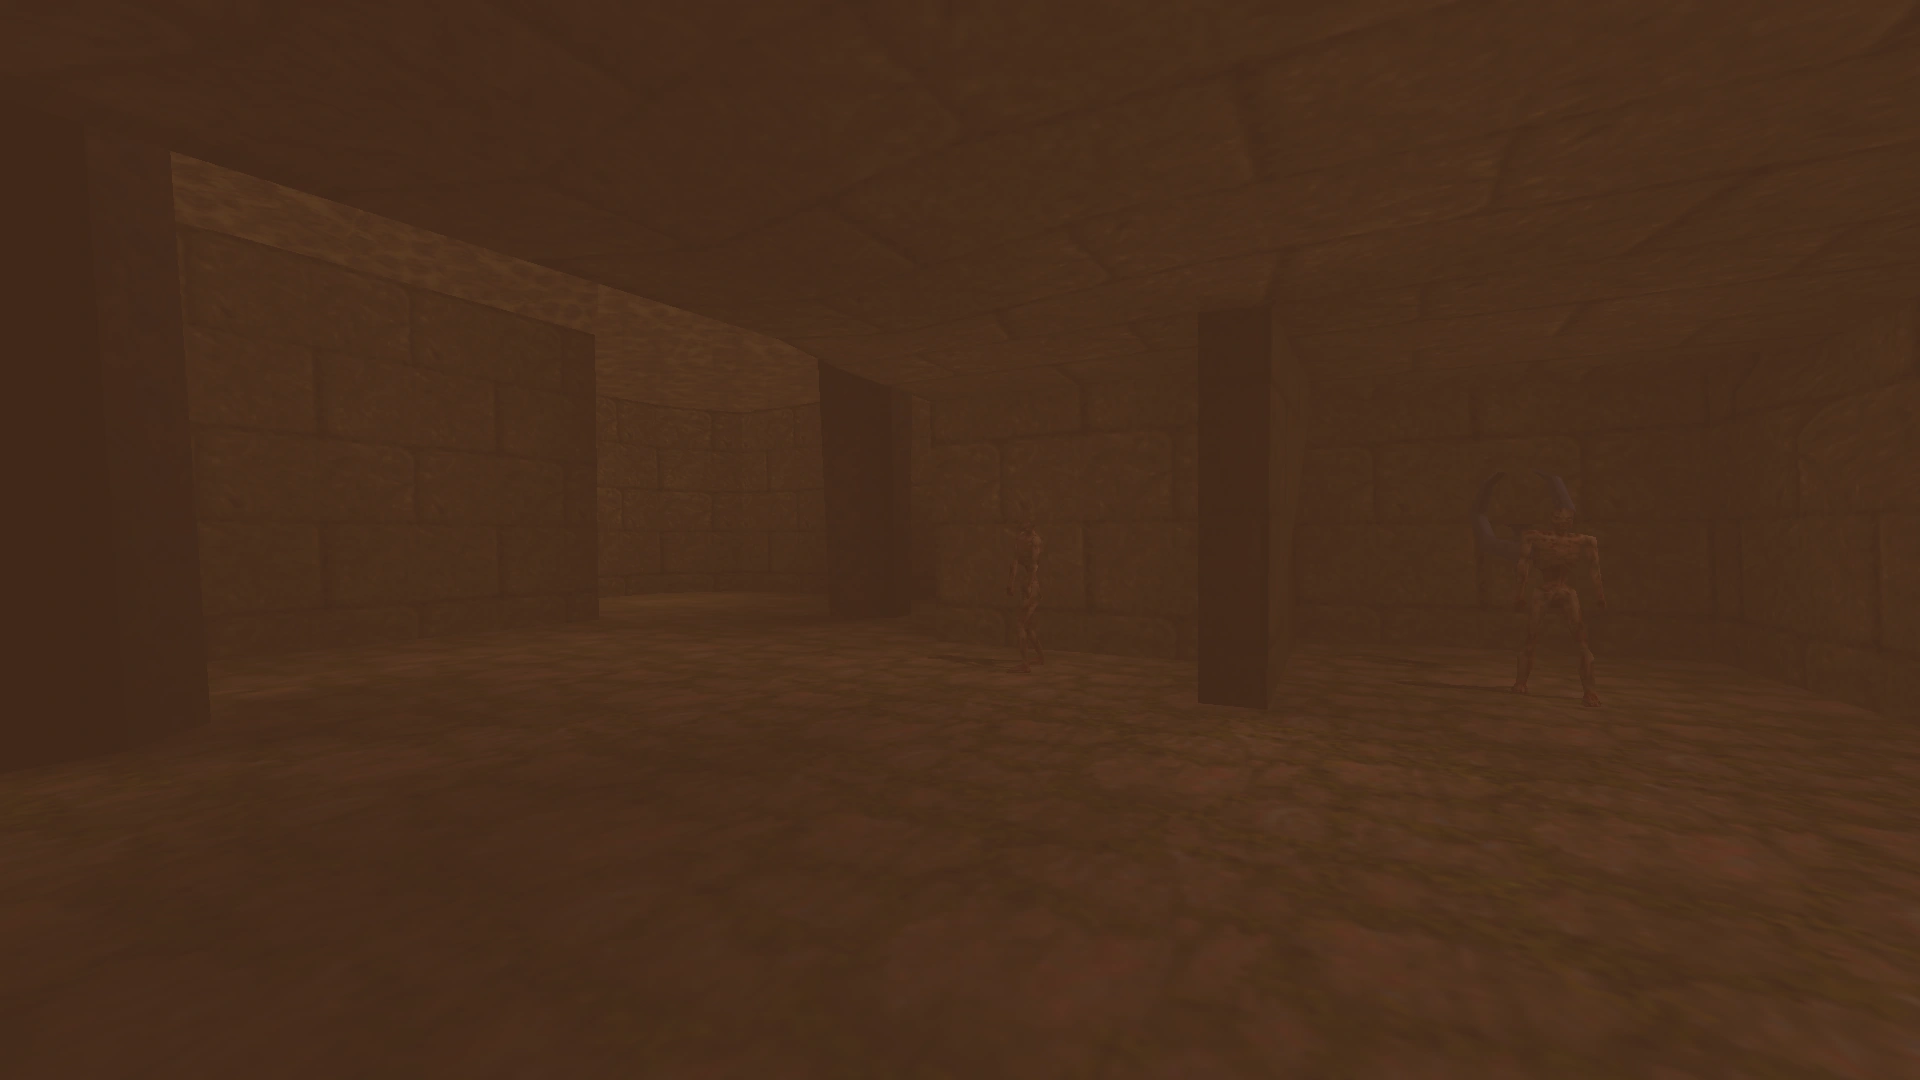 |
At the bottom of the right tower jump into the Water and swim to the right wall into a small room. Kill the Zombie and collect the Quad Damage. |
| (#2) | 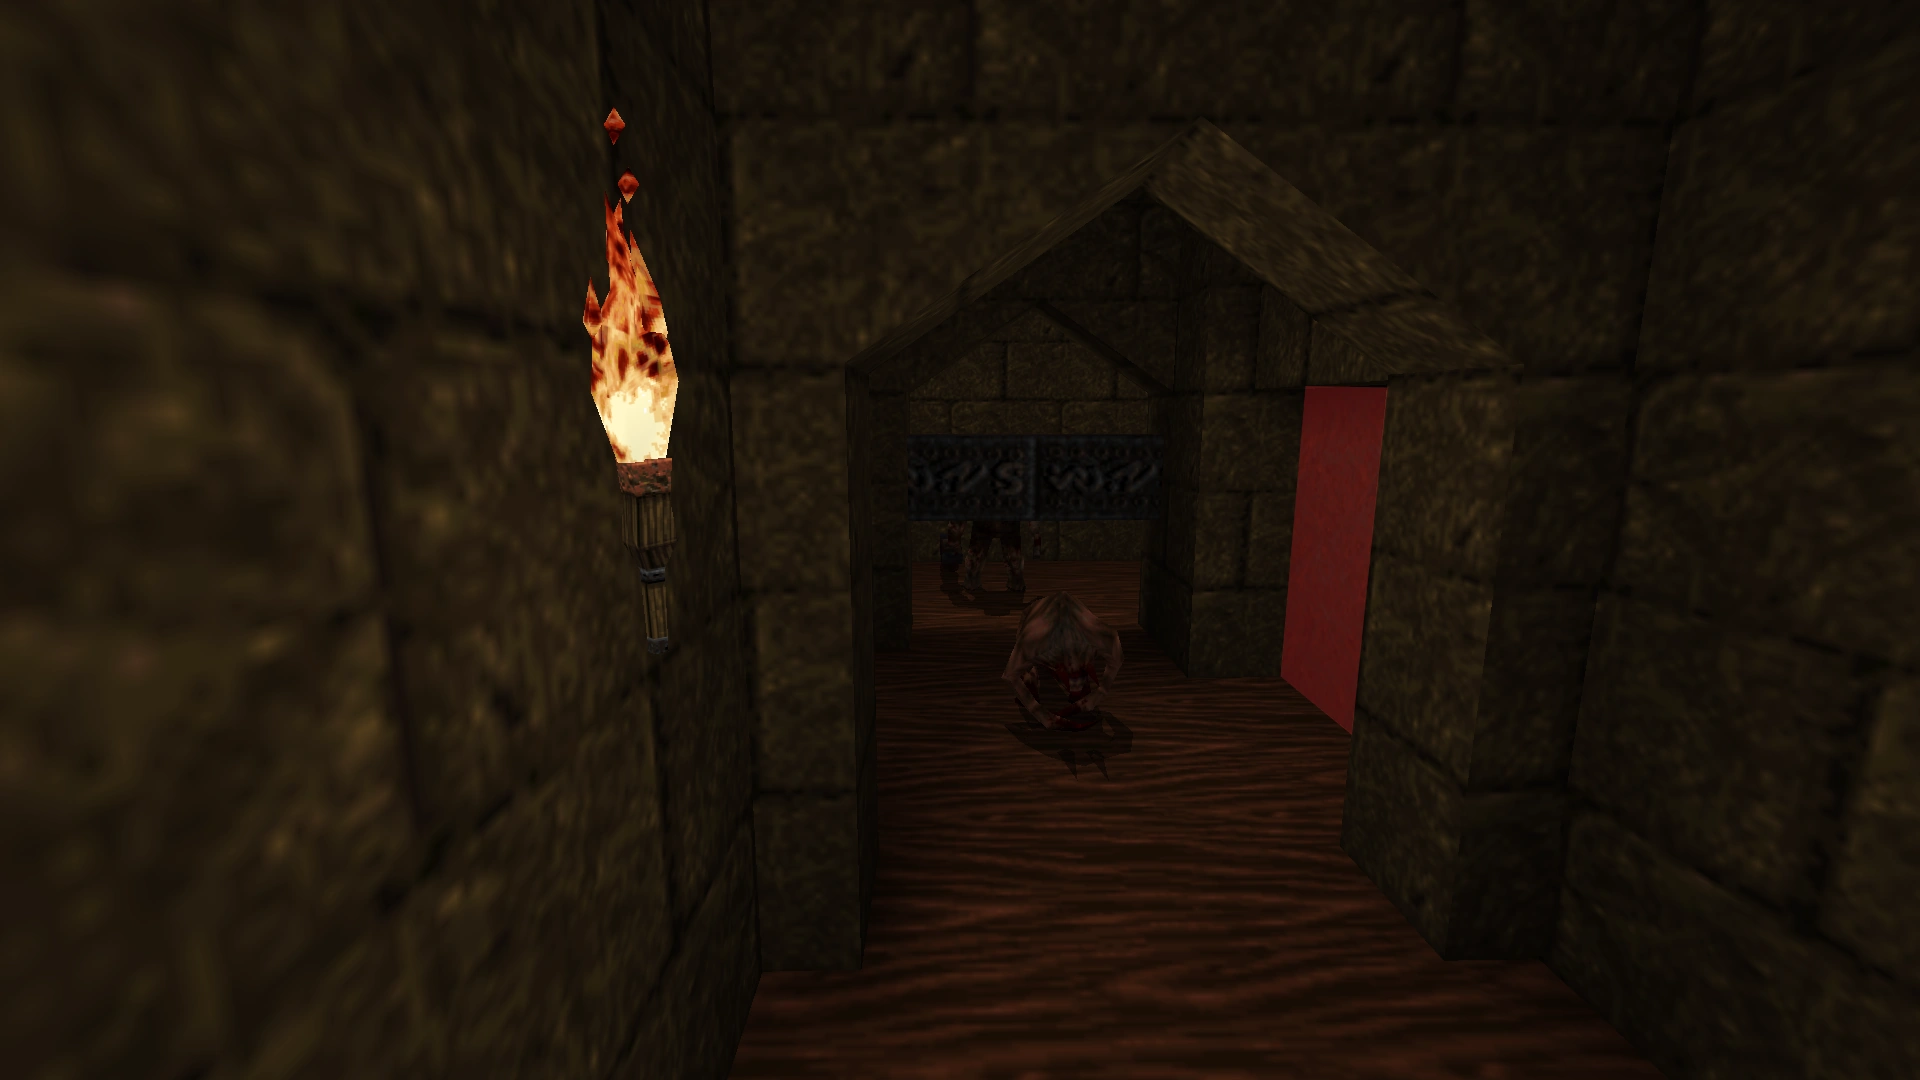 |
On the second floor of the Gold Door room, shoot the grey Wall to the right of the Barred room. Go down the stairs to the right and drop down to the lower floor. The Elevator behind shall bring you back up. Collect the Nails, Shells, 100 Health, and Pentagram of Protection. |
Enemies
| Type | Count | Notes | ||
|---|---|---|---|---|
| Easy | Normal | Hard/Nightmare | ||
| Zombie | 8 (9) | 16 (21) | 26 (31) | |
| Scrag | 0 | 3 (6) | 4 (8) | |
| Ogre | 8 (10) | 14 (19) | 16 (21) | |
| Death Knight | 5 (8) | 11 (15) | 14 (18) | Enemy counts in parentheses are added only in the enhanced version. |
| Fiend | 9 (10) | 15 (18) | 18 (22) | |
| Vore | 1 | 2 | 2 | |
| Shambler | 0 | 1 | 5 | |
| Total | 31 (38) | 62 (82) | 85 (107) | |
Glitches
- In Deathmatch the Bar is still up, but due to no spawn locations being in the start room, there is no way to get to the Quad Damage in it.
- In Deathmatch the Rune is still found in the final room if the slow Elevator could lower.
- The player may Grenade Jump or Rocket Jump to any of the rooms next to the central bridge from the central bridge.
- The player may Grenade Jump or Rocket Jump over the Bar preventing the player from accessing the Exit Gate, completely bypassing the Rune.
Episode Completion
| “ | The Rune of Black Magic throbs evilly in your hand and whispers dark thoughts into your brain. You learn the inmost lore of the Hell-Mother; Shub-Niggurath! You now know that she is behind all the terrible plotting which has led to so much death and horror. But she is not inviolate! Armed with this Rune, you realize that once all four Runes are combined, the gate to Shub-Niggurath's Pit will open, and you can face the Witch-Goddess herself in her frightful otherworld cathedral. | ” |
—Second Rune Collected | ||
Deathmatch

E2M6 - the Dismal Oubliette (Deathmatch)
Differences
- Water and central bridge replaced with regular floor with Shells, Nails, and Cells
- No stairs where Button to move Wall to two towers room was, only a big box raises
- Rocket Launcher in left tower
- Grenade Launcher on top floor of right tower
- Shells replaced by Rockets in (#2), and no 100 Health
- Double-Barrelled Shotgun behind gold doorway
- Super Nailgun on slow Elevator
- Slow Elevator does not lower
Spawn Locations
- Room overlooking two towers
- Upper floor of left tower
- Second floor of right tower
- Third floor of gold doorway room
- Prior Button room to unlock prior main passageway Bars on second floor of gold doorway room
- Slow Elevator
Differences in Quake 64
- Fiends, Scrags, and Shamblers were removed. Additional Ogres, Death Knights, and Vores added. In Hard/Nightmare, an additional 8 vores were added, mostly replacing the 5 Shamblers.
- Frames around the central hub's archways were removed, making rocketjumping across the gaps easier.
Trivia
- This map originally had a large, watery cavernous area before what is now the starting room: an actual oubliette. According to John Romero, this was removed because the final compiled map was too large to fit onto a floppy disk (presumably for ease of transfer during development). This area was later released as E2M10: Lost Entrance of the Dismal Oubliette. [2]
- In the enhanced version, this part of the original map was implemented into the level.
- John Romero considers the corridors around the Elevator leading to the Gold Key to be a good example of his perception being off in terms of visual space due to the differences of Quake and Doom. This caused those corridors to be very cramped and dangerous. Even upon release, he knew the scale was incorrect but didn't have the time to fix it. [3]
External Links
- ↑ Interview with John Romero where he stated, ‘Yes, the boss situation was due to time constraints. Although you might notice that I placed the Shalrath creatures in the end room of E2M6 as a sort of boss - it's the first time you meet them and we reuse them later on (a la Baron of Hell). I designed Shub to do exactly what he does - it was a really quick and easy boss to implement and an analog to DOOM II's final Icon of Sin boss.’
- ↑ https://web.archive.org/web/20101129195726/http://planetromero.com/2001/06/quake-birthday-surprise
- ↑ https://web.archive.org/web/20101129195726/http://planetromero.com/2001/06/quake-birthday-surprise
| E2M5: The Wizard's Manse | Quake Levels | Introduction |