![]()
The Underearth is the seventh and Secret Level of The Realm of Black Magic. The exit is very close to the start, yet players will have to "go for a swim" in the nearby River first. An underwater passage leads to the rest of the level. It's composed of many types of areas - moss-covered caverns, castle-like hallways, and dark crypt-like passages. Numerous Slime pits threaten the unwary and there are a few more unusual traps as well such as Nail Traps.
This level brings back Scrags. The player must search for the Gold Key in order to proceed. This is the hardest level of the Realm of Black Magic, as there is a great amount of enemies and a lesser number of supplies, like the later episodes will have.
The level contains another Easter Egg - a hidden room with a logo and the initials of Tim Willits and Theresa Chasar in it.
Quick Level Completion
- Jump into the Water.
- Follow the corridor to the intersection, the left being the Gold Door.
- Take the straight corridor, and follow it until you go up some stairs.
- Take the doorway straight ahead, then the doorway to the left.
- Follow the corridor to an Elevator.
- At the top, follow the corridor to the Gold Key.
- Drop down to the floor below to be across from the Gold Door.
- Open the Gold Door, and follow the corridor to a Button.
- Follow the corridor in the newly opened doorway until you get to a room with a torch in the middle.
- Press the four Buttons to open the door to the left.
- Follow the corridor until you reach another Button.
- Four alcoves will open, press two Buttons found in the closer alcoves.
- Go up the opened Bars to the exit.
Walkthrough

E2M7 - the Underearth
Collect the two 25 Health on the left side of the bridge above the Water. Collect the Shells to the right. As you go towards the building kill the Ogre coming down the stairs inside and collect the Nails to the left of the entrance. Collect a 15 Health before the stairs, and a 25 Health before turning left to a second flight. Turn right at the top of the stairs, kill the Ogre, and collect the Nails. Turn left and go into the next room, then turn right and kill the Scrag as well as the Death Knight on the bottom floor of this area. Collect the Rockets to the left and the 2 Shells to the right, and then go down via one of the two staircases. The Arch is here, but is blocked off. So is another passageway in the floor. Collect a 25 Health to the left, and the Nails and 25 Health to the right of the Arch.
Drop into the Water by the starting bridge, and follow the passageways until you exit the Water into another room. Collect the Nails to the right and go into the next room. Kill the Ogre in this room, and collect the two 25 Health to the right side. To the right is a ledge with the Gold Key, but it is too high to reach. To the left is the Gold Door with Shells to the right side. To the left of the Gold Door is a blocked off doorway that can be opened by pressing a Brick sticking out of the wall (#1). Straight from the start of the room is another doorway leading to a Grenade Launcher, Rockets, and a Zombie. Drop off the stairs below to the right side to collect Nails, then go to the front of the stairs to collect Shells. Kill the 2 Zombies to the right of the passageway, and follow it to the next room. Kill the 6 Zombies to the left. Collect the Shells and two 25 Health at the end of the left side of the room, just before the bridge next to the Slime. Kill the Ogre to the right behind the Bars, and open them with a Floorplate. At the end is Shells and Green Armor, but you must dodge the Falling Spike in the ceiling.
Go into the next room by following the Slime bridge. There is Slime around the platform in this area, so turn right and collect 2 Nails. Continue up the stairs to the right and kill the Death Knight at the top, as well as the Death Knight in the next room. Collect the Nails and 100 Health by the stairs. When the 100 Health is taken, a Wall opens up to the right with a Fiend, 25 Health, and Nails. Go into the next room and collect the Shells to the right while killing the Scrag. Follow the passageway to the left until you encounter a Fiend. Collect the Shells and 25 Health at the end of the hallway and turn left. Kill the Death Knight in the next room while bewaring of the Multi-Nail Trap. Collect the 2 Nails at the other end and go up the Elevator. Kill the Ogre at the top. Go around the ring to the right of the Elevator to collect the two 15 Health and 2 Nails. Return to the front of the Elevator and go right. In the next room collect the Shells, 25 Health, and Gold Key. Drop down and open the Gold Door.
Collect the 2 Nails straight ahead. Turn right and kill the 3 Scrags and Ogre in the next room. Follow the platform but beware of the Slime to the sides. Collect the Nails and 15 Health on the wooden platform, then press the Button and collect a 25 Health on the stone platform. Kill the Ogre that comes out of the opened Door to the left. Race across the Slime to find an alcove with Nails and a Biosuit, go to the opposite side of the Slime by the 3rd pole from the doorway to find a sunken area to swim into (#2), then press the Button beside the end of the stone platform to raise a part of it to create stairs, which will only stay up for a few seconds. Follow passageway through the Door that was opened with the Button earlier while collecting Shells. Continue following the passageway to get to a ledge overlooking the Falling Spike room. Collect the 15 Health and 25 Health and kill the 2 Scrags that spawn in. Follow the passageway to the left and collect the 2 Shells. Turn left again to collect the two 15 Health and Nails. Kill the Ogre straight ahead and collect the 15 Health and Biosuit. Kill the Scrag and Death Knight on the big bridge to the right. Cross the bridge while collecting the Green Armor and 2 Nails. Kill the Death Knight and avoid the Nail Traps coming out of the torch in the middle of the room. Collect the 2 Shells and 25 Health while pushing the four Buttons. When all the Buttons are pushed, exit through the newly unlocked Door to the left. Collect a 15 Health and 25 Health to the left in the next hallway, and a 25 Health, Shells, and Nails to the right. Turn left into the next hallway and kill the Fiend. Go down the hallway and kill the Death Knight in the sunken area to the left. Continue on the hallway while collecting the 25 Health and killing a Death Knight in the sunken area to the right. Collect the Nails at the end of the hallway and the two 25 Health through the doorway. Turn left to get to the opposite side of the Barred area by the Arch in the floor. Collect the Rockets by the stairs to the right and kill the 5 Zombies in the room. Press the Button in the middle to open up four alcoves. There are 2 Zombies, one in each of the closer alcoves to the Button. In each of the alcoves is an item, from left bottom clockwise they are a 25 Health, Rockets, and a 25 Health. The final alcove has nothing besides a Button, which the opposite alcove has as well to unlock the Bars leading to the exit room, the Arch will be Unbarred as well.
Also in this level is an Easter Egg opened by shooting all the gargoyle walls in the level. After it is shot, go to the second sunken wall in the sunken wall room and shoot the Wall. Inside is just a symbol of a raven based on the maps of Tim Willits and Theresa Chasar for Doom. The initials of them are located below the symbol. The Gargoyles' locations are noted below:
- One each on left and right side of Gold Door room
- By 100 Health
- In passageway before upper level of Falling Spike room
- To the left of the big bridge
- 2 in room just before two sunken wall room
Differences from Easy to Normal
- Ogre between the two flights of stairs at starting/exiting building
- 2nd Death Knight by Arch
- Scrag to left of initial entrance to Arch
- Ogre jumps off platform to left of entrance to Gold Door room
- Fiend by Gold Door
- Ogre jumps into Gold Door room from ledge with Gold Key
- 7th Zombie in Falling Spike room
- Ogre on ledge overlooking Falling Spike room
- Scrag by 100 Health
- Ogre and Death Knight at top of stairs on 100 Health platform
- 2nd Fiend behind Wall that opens when 100 Health taken
- Ogre on back part of ring platform
- 2nd Death Knight in Multi-Nail Trap room
- 4th and 5th Scrag in room just past Gold Door
- Ogre in passageway leading to big bridge
- 2nd and 3rd Scrag on big bridge
- 2nd Death Knight in Nail Trap torch room
- Ogre in 2 gargoyle room by sunken wall room
- 6th Zombie in 4 alcove room initially
- 3rd and 4th Zombie in 4 alcove room after pushing Button, one in each alcove that was previously empty
Differences from Normal to Hard/Nightmare
- Fiend replaces Ogre between the two flights of stairs at starting/exiting building
- 3rd Death Knight by Arch
- 2nd Ogre on ledge overlooking Falling Spike room
- Scrag initially in Falling Spike room
- Fiend and Scrag on lower level of 100 Health room
- Death Knight in passageway from 100 Health to ring room
- Death Knight on back part of ring platform
- Death Knight in passageway to Gold Key
- Fiend behind Gold Door
- Ogre in passageway leading to big bridge replaced with Fiend
- 3rd Death Knight in Nail Trap torch room
- 2nd Fiend in sunken wall room
Secrets
| Secrets | ||
|---|---|---|
| (#1) | 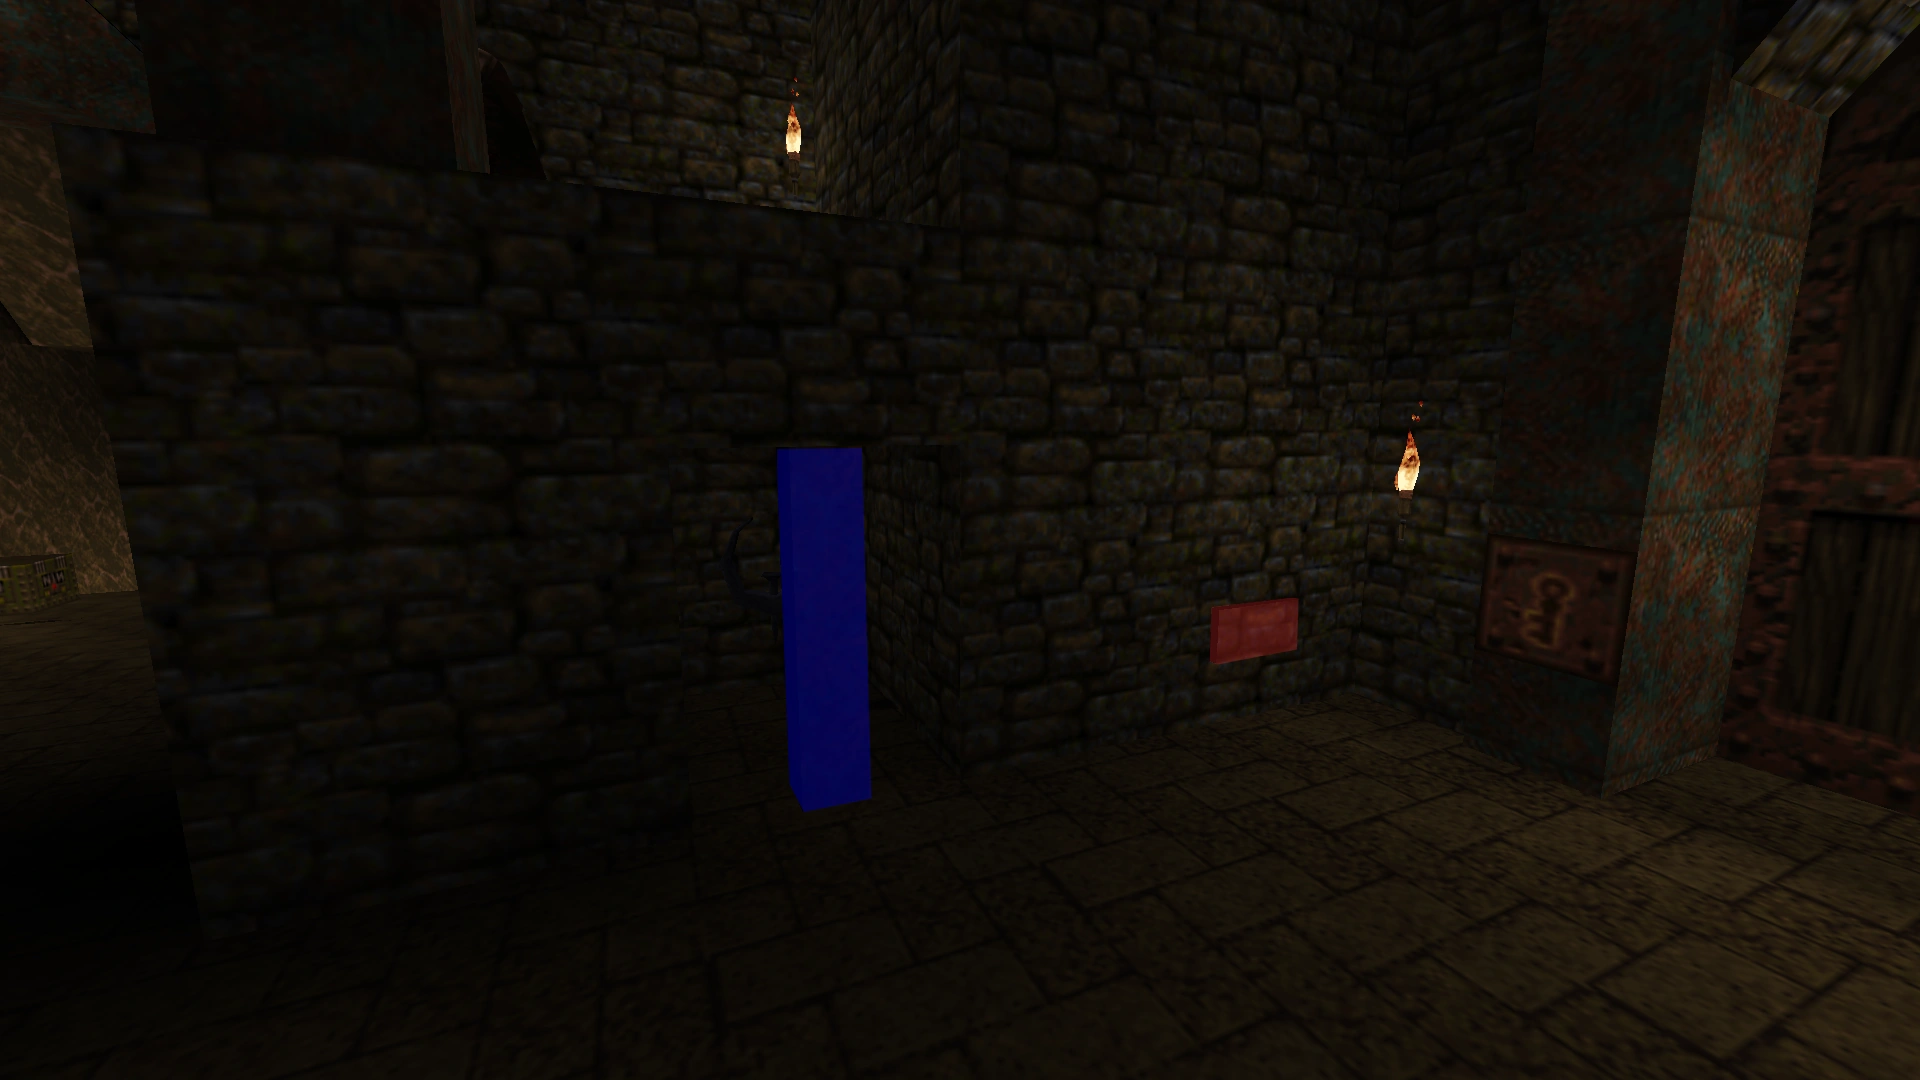 |
On the left side of the Gold Door is a Brick that can be pushed in to open the blocked out doorway beside with a Quad Damage |
| (#2) |  |
In the wooden/stone platform room by the Slime, run across the Slime into a doorway to get Nails and a Biosuit. Go to the 3rd farthest pole from here to find a sunken area with a Red Armor. Cross back and press the Button by the wall to raise some stairs behind the Button. |
Enemies
| Type | Count | ||
|---|---|---|---|
| Easy | Normal | Hard/Nightmare | |
| Zombie | 16 | 20 | 20 |
| Scrag | 8 | 14 | 16 |
| Ogre | 8 | 16 | 15 |
| Death Knight | 8 | 12 | 17 |
| Fiend | 3 | 5 | 10 |
| Total | 43 | 67 | 78 |
Deathmatch

E2M7 - the Underearth (Deathmatch)
Differences
- Cells to right of start
- Grenade Launcher by Arch
- Cells to left of passageway connecting Gold Door to Falling Spike room
- Falling Spike room has platform to jump on to get from bottom floor to ledge overlooking it
- No Shells next to Slime in Falling Spike room
- Shells replaced with Thunderbolt in Falling Spike room
- Nailgun on lower floor of 100 Health room
- Nails by 100 Health replaced with Shells
- Super Nailgun in ring room
- Nailgun on long wooden platform above (#2)
- Cells in passageway connecting (#2) room and above Falling Spike room
- Double-Barrelled Shotgun on ledge overlooking Falling Spike room
- No Biosuit in big bridge room
- No 2 Shells in Nail Trap torch room, but Double-Barrelled Shotgun is there
- No 25 Health to right of room before sunken wall room, but Rocket Launcher is there
- Cells in left sunken wall in sunken wall room
Spawn Locations
- Starting bridge
- Stairs Barred which when unlocked opens exit
- Room before sunken wall room
- Big bridge
- Passageway connecting (#2) room and above Falling Spike room
- Gold Door
- Corridor just after Elevator beside ring platform
- Corridor just before Elevator beside ring platform
- Room beside 100 Health room
- Exit of Falling Spike room
- (#2) room
External Links
| E2M3: the Crypt of Decay | Quake Levels | E2M4: the Ebon Fortress |