![]()
Chambers of Torment is the sixth and final level of The Netherworld. It revolves around the large central courtyard, which is filled with Lava. The level's start is also an outdoor area. There are numerous corridors and rooms for the player to explore, some of them featuring Nail Traps or treacherous Moving Platforms over Lava pools. The player must ultimately reach the bridge above the central courtyard, which leads to the Rune and the exit portal.
The player must search for the Silver Key and Gold Key in order to proceed. The player also must collect the third Rune while killing Vores, which return in this level if E3M7 has not been played. Unlike other levels, this level was made by two designers, Tim Willits and American McGee. This level also combines the Runic and Wizard themes.
Quick Level Completion
- Follow the straight corridor from the start until you get to the Silver Door on the right side.
- Continue down the corridor until you reach the end with the Silver Key.
- Return to the Silver Door and go through it.
- Go down the stairs to the Gold Door.
- Go through the doorway to the left, then turn right and go up the Elevator.
- At the top, follow the corridor until you get to the end of the corridor, which overlooks a large pole.
- Drop to the floor below and press the Floorplate on the left side, then go through the doorway to the right.
- Follow the corridor until you reach a room with 3 Floorplates on the floor.
- Press the 3 Floorplates and go through the newly opened door to the right.
- Stand on one platform, then walk onto the other when it gets close to your position.
- Repeat to get to the opposite side of the room.
- Follow the corridor to the Gold Key, then drop down via the window right next to the Key to the floor below.
- Open the Gold Door right behind you, then follow the corridor past it until you reach an Elevator.
- Go up the Elevator, cross the bridge, and collect the Rune beside the exit.
Walkthrough

E3M6 - Chambers of Torment
Go forward to the bridge to collect the two 25 Health. Kill the Death Knight that runs down the stairs straight ahead. Collect the Nails to the left of the stairs and turn right to a narrow platform overlooking the Lava below. Kill the Death Knight in the window by the Shells at the end. Turn left, kill the Ogre, and collect a 15 Health to the right. Go up the stairs to the right and at the top turn right once more. Collect the 2 Cells on the left side of the hallway and continue into the windowed room overlooking the narrow platform you were on previously to the right. Collect the Rockets on the left side of the room, and a 15 Health to the right. Drop through the doorway straight ahead to the small metal platform on the Lava. The Elevator here allows you to return to the room above if you wish. Kill the Scrag and turn right through a hallway, and right again onto some small platforms on the Lava below the first room. On the first are Rockets, the second has two 25 Health, and the third has Red Armor. 2 Scrags spawn when you collect the Red Armor. Return to the staircase in the first room that you previously ignored and go up it. At the top is a passageway down a hallway, as well as platforms on more stairs to the left and right. On the right platform are two 25 Health and Shells, and on the left is a Ring of Shadows. Go down the passageway straight ahead, and turn left at the end to an Ogre. Collect the 2 Shells at the corner and turn left again to a Scrag. At the end of the corridor is a balcony overlooking the first room, which was to the far left from the start, with a 15 Health. Turn right, then left around the balcony and collect the Shells in the next corridor. As you walk down the corridor a Wall will open at the end with a Fiend and Green Armor. Turn right into a doorway at the end of the corridor, collect the 2 Nails, and kill the Vore in the next room. Collect the two 15 Health to the right and go into the next corridor. To the right is the Silver Door, and to the left is an alcove with Nails. Kill the Ogre behind the bars at the end of the corridor and turn right. Collect the Shells at the end and turn left, and then right. In the next room, kill the Death Knight, collect the 2 Nails to the right, and collect the two 15 Health straight ahead. Turn right at the end of the room and collect the Silver Key. The Ceiling will open up in the room behind you, revealing an Ogre which drops to the lower floor. Also a Button will be revealed that can be shot to open a Wall to the left (#1).
Return to the Silver Door and kill the Death Knight in the room behind. Collect the Shells and Cells by the locked Door to the right, then go down the stairs in the middle of the room and kill the Fiend. Kill the Ogre on the unreachable at this time alcove with the Gold Key. Just below the alcove is the Gold Door. Collect the Shells to the right, and go through the doorway to the left to Shells and a Death Knight. To the right is metal scaffolding with Nails to the right, Rockets in the middle, and the two 15 Health to the left. Kill the Ogre on the scaffolding and take the Elevator in the middle of the room. At the top look up and shoot the Button to open a Wall on the opposite side of the normal hallway leading to the top of the scaffolding (#2). Collect the 2 Nails in the corridor at the top of the Elevator and turn left. Collect the Shells and turn right to a Death Knight. Collect the two 15 Health to the left of the corridor and kill the Scrag in the next room before dropping down. There is a large pole in this room, with the upper floor where you dropped down from having 6 Nail Traps on the pole, and the bottom where you are now on having 8 Nail Traps on the pole. In addition, both levels have 2 Nail Traps separate from the rest. At the bottom, collect the Green Armor to the right, and press the Floorplate to the left to open a doorway leading out of the room to the right. Collect the Rockets and turn left to an Ogre. Collect a 25 Health, 15 Health, and 2 Nails, as well as Shells at the end of the hallway. Turn right into the next room, the lower floor of the bridge containing the Rune, which cannot be accessed at this time. Kill the 2 Death Knights on the bridge however. Avoid the Lava on the floor you are on and walk across the platform. Collect the Cells, Rockets, and the two 25 Health under the bridge, as well as Nails by the doorway into the next room. Turn right past the doorway, kill the Death Knight, and collect the two 15 Health. Turn left and collect the Shells at the end, then turn right to a Scrag and 3 Floorplates on the floor. Press the 3 Floorplates and collect a 15 Health and 25 Health at the end. The Bars to the right will open, as well as the Wall to the left, revealing an Ogre and Nails. Go through the newly opened doorway to the right and kill the Scrag to the left. Get to the other side of the pit of Lava by the use of 2 Moving Platforms moving back and forth across the Lava. Collect the Shells to the left, go through the next doorway, and turn right at the end into the Gold Key room.
Turn right and collect the Rockets, as well as kill the Ogre that comes from the next corridor. Turn right into that corridor and kill the Fiend. Go down the corridor while collecting Nails and two 25 Health, as well as Nails and Shells by a Button that opens a Door to the right, which was the locked Door to the right after the Silver Door. Return to the Gold Door and go through it. Turn right and kill a Scrag. Turn left at the end and kill 2 Scrags. Turn left at the end and go up the Elevator. Turn right at the top to the Rune bridge that was seen earlier from the lower floor. Collect the two 25 Health to the right by the Elevator, and step onto the start of the Rune bridge. 2 Vores have spawned, one to the left and one to the right, on the lower floor. Collect the Nails to the left and Shells to the right, as well as Cells on the bridge. Collect the Rune at the end and enter the Exit Gate.
Differences from Easy to Normal
- Ogre in right room from start
- 2nd Scrag on narrow platform leading to Lava platforms below start
- When Red Armor collected, Vore spawns on starting bridge
- Ogre by Ring of Shadows
- 2nd Scrag in hallway before balcony overlooking first room
- Ogre in hallway after balcony overlooking first room
- Ogre in alcove to left of Silver Door
- 2nd Ogre behind bars of (#1)
- Vore in room before Silver Key
- 2nd Ogre drops from Movable Ceiling in the previous room after Silver Key is collected
- 2nd Death Knight in room after Silver Door
- Scrag in Gold Door room
- 2nd Death Knight in scaffolding room
- 2nd Ogre on scaffolding of (#2)
- Death Knight at the top of the Elevator of the room with scaffolding
- 2nd Scrag in Nail Trap room
- 2 Death Knights on Rune bridge replaced with 2 Vores
- 2nd Scrag in 3 Floorplate room
- 2nd Ogre behind Wall in 3 Floorplate room that opens when all 3 are pressed
- Ogre on Moving Platforms of Moving Platform room
- Death Knight in corridor leading to Gold Key
- Ogre to left of Gold Key replaced with Vore
- Death Knight spawns in corridor behind when Button is pushed to open Door to right of room after Silver Door
- 2nd Scrag just behind Gold Door
- Scrag by Elevator to Rune bridge
- As the player walks across Rune bridge, 2 Fiends spawn, one ahead and one behind the player
Differences from Normal to Hard/Nightmare
- 2nd Ogre in right room from start
- Ogre on right alcove from starting staircase
- Scrag in hallway after balcony overlooking first room
- Ogre by Silver Door
- Death Knight in room before Silver Key
- 3rd Death Knight in room after Silver Door
- Fiend on stairs to Gold Door room
- 3rd and 4th Ogre on scaffolding of (#2)
- Death Knight at first turn after top of the Elevator of the room with scaffolding
- Fiend on lower floor below Rune bridge
- Fiend in corridor leading to 3 Floorplate room
- 2nd Scrag in Moving Platform room
- Vore in corridor to Button to open Door to right of room after Silver Door
Secrets
| Secrets | ||
|---|---|---|
| (#1) | 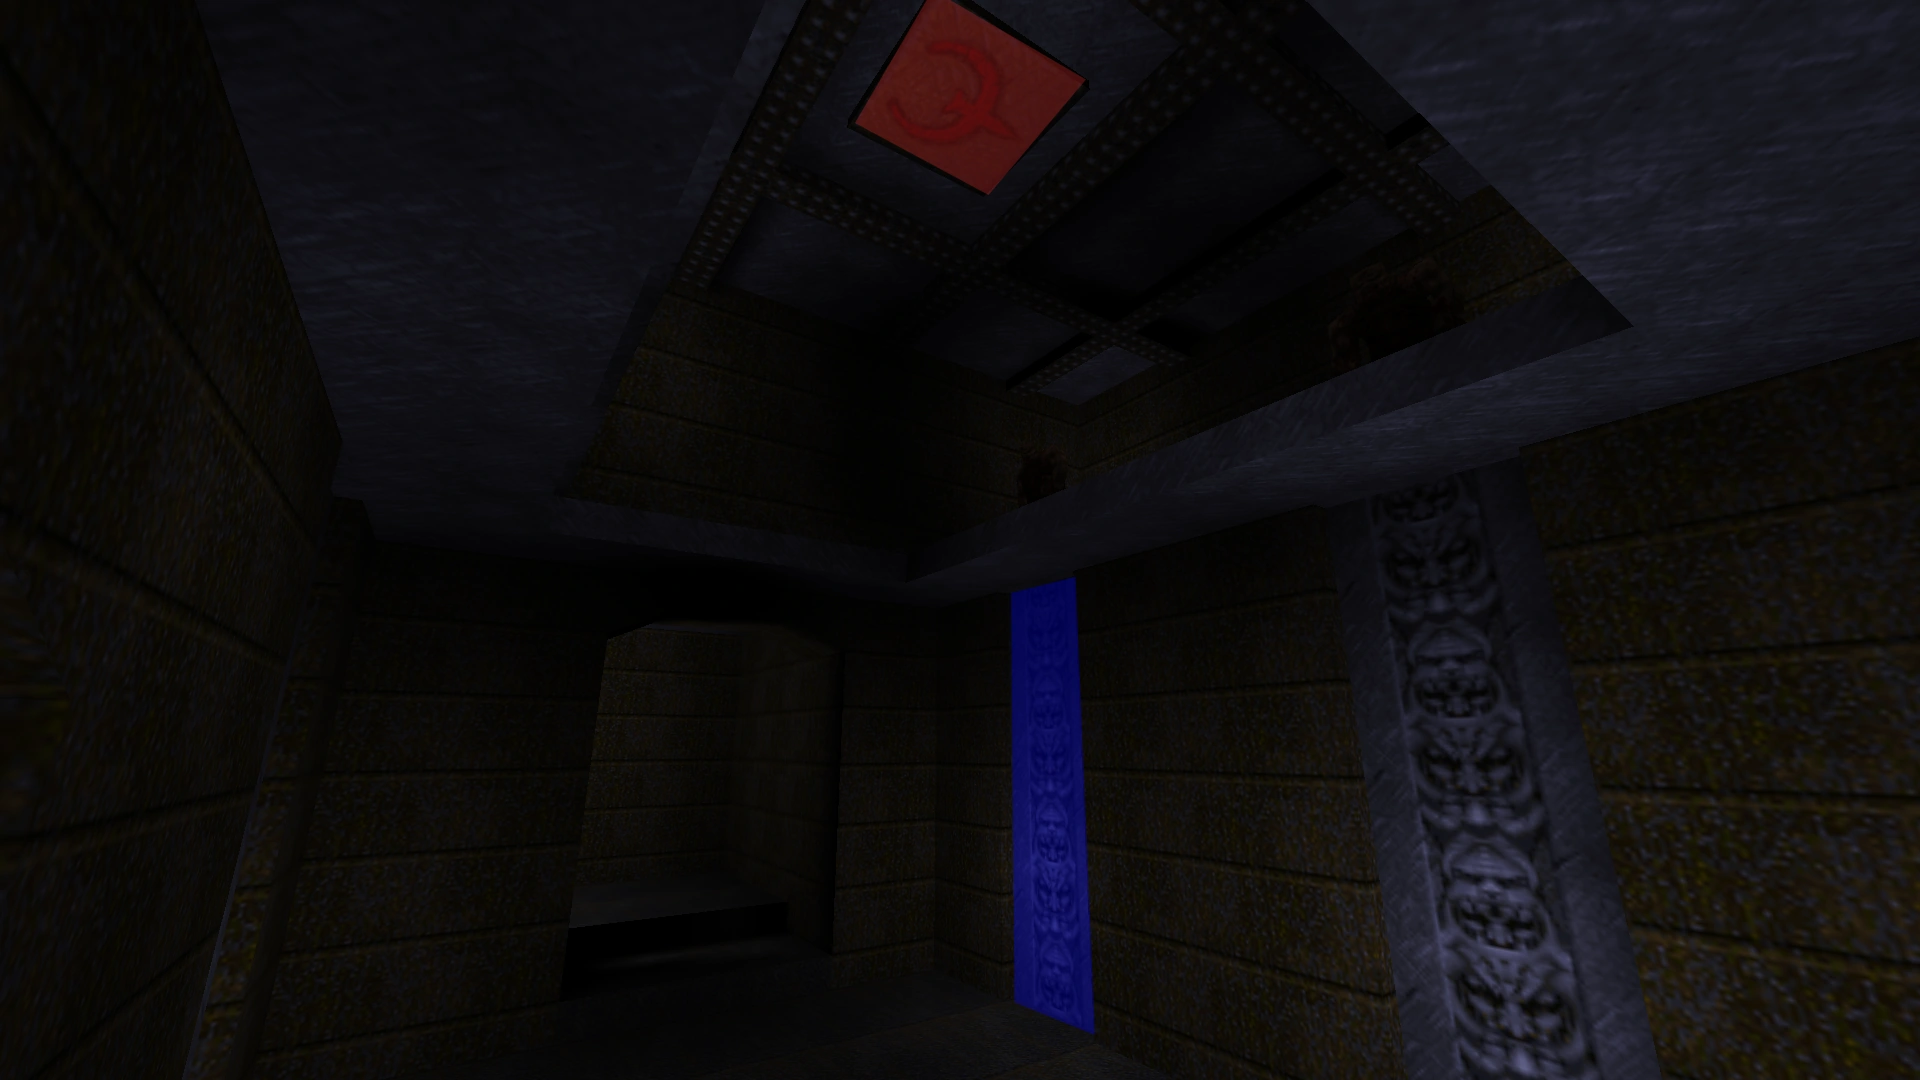 |
After collecting the Silver Key, look to the ceiling revealed by the Movable Ceiling in the previous room to find a shootable Button that opens a Wall to the left of the entrance. Follow the corridor to another Wall that opens to the opposite side of the bars in the barred room just after the Silver Door. Collect the Yellow Armor and two 25 Health, then continue following the corridor to another you can jump to with Nails, a Quad Damage, and a Floorplate opening the Wall to the left side of the first Vore room. |
| (#2) |  |
At the top of the Elevator of the room with scaffolding, look up to shoot a Button which opens a Wall on the side towards the scaffolding room allowing you to get to the top of the scaffolding. Collect the two 25 Health and Rockets, and then return to the floor below by dropping through the scaffolding. |
Enemies
| Type | Count | ||
|---|---|---|---|
| Easy | Normal | Hard/Nightmare | |
| Scrag | 10 | 17 | 19 |
| Ogre | 9 | 17 | 22 |
| Death Knight | 9 | 12 | 15 |
| Fiend | 3 | 5 | 8 |
| Vore | 3 | 8 | 9 |
| Total | 34 | 59 | 73 |
Glitches
- The player can Rocket Jump or Grenade Jump from the Gold Door room to the Gold Key.
- They can also Rocket Jump or Grenade Jump in the lower bridge in the courtyard to the Rune bridge, thus skipping Gold Door room and 2 Vores.
Episode Completion
| “ | The charred viscera of diabolic horrors bubble viscously as you seize the Rune of Hell Magic. Its heat scorches your hand, and its terrible secrets blight your mind. Gathering the shreds of your courage, you shake the devil's shackles from your soul, and become ever more hard and determined to destroy the hideous creatures whose mere existence threatens the souls and psyches of all the population of Earth! | ” |
—Third Rune Collected | ||
Deathmatch

E3M6 - Chambers of Torment (Deathmatch)
Differences
- Double-Barrelled Shotgun in right room from start
- Only Shells in corner of hallway leading to balcony overlooking start
- Grenade Launcher replaces Silver Key
- Double-Barrelled Shotgun in (#1)
- No Cells by locked Door after silver doorway
- Nailgun in room after silver doorway
- Rocket Launcher in corridor before Nail Trap room
- Super Nailgun behind Wall in 3 Floorplate room that opens when all 3 are pressed
- No Cells on the Rune bridge
- Thunderbolt by Rune
Spawn Locations
- Room before Grenade Launcher
- Start
- Corridor after Nail Traps
- Rune bridge
- Corridor before 3 Floorplate room
- Corridor before Moving Platform room
- Button to open Door to right of room after silver doorway
- Opposite side of bars from (#1)
- Gold doorway room
- Corridor after balcony overlooking start
External Links
| E3M5: The Wind Tunnels | Quake Levels | Introduction |