![]()
House of Desolution is a Single Player and Multiplayer level. This level features a Moving Platform that has been designed in the shape of a Boat over a river of Lava, a multi-level bridge complex suspended over a pit of Lava, and a small dungeon filled with Zombies.
The player must search for the Silver Key and Gold Key in order to proceed.
Note that the timestamp of the actual file is incorrect, stating that it was released in August instead of September. The date inside the documentation is correct.
Quick Level Completion
- Proceed forward to an intersection.
- Go through the Door to the left.
- Turn right and go up the staircase.
- Proceed forward to the next wall.
- Turn left and hit the button on the opposite wall.
- Turn left and collect the Silver Key from the lowered Elevator.
- Return to the intersection.
- Go through the Silver Door to the left.
- Proceed forward to another intersection.
- Go down the staircase to the right.
- Turn right and cross the river of Lava, then press the Button.
- Turn around and go onto the Boat.
- Collect the Gold Key in the small alcove on the opposite side of the river.
- Return to the last intersection.
- Turn right and go through the doorway.
- Turn right and proceed down the corridor.
- Turn left and go through the doorway.
- Cross the bridge and go through the doorway.
- Go down the staircase to the left, veering with it to the bottom.
- Turn left and go through the doorway.
- Cross the bridge, then go up the elevator and turn around.
- Go through the Gold Door on the far side of the bridge.
- Proceed down the corridor, then turn right.
- Proceed forward to the exit.
Walkthrough

House of Desolution
Turn left to collect the Shells, then turn right once more to return to your starting orientation. Proceed forward to reach the main section of the room. Turn left to kill the Knight that patrols through the doorway, then turn right to kill the Ogre that patrols up the staircase. Turn left to look at the Silver Door. Drop into the pool of Water straight ahead to collect the Green Armor (#1). Get out of the pool and turn right, then proceed down the stairs. Turn left at the bottom, then continue down the flight of stairs. At the bottom, turn right and kill the Ogre. Proceed forward to the wall, then turn right and head down the next staircase. Turn right once more, then head down the corridor to reach the next room. Ignore the 6 Zombies, instead heading to your left to go around the pillar. Proceed forward to collect a Grenade Launcher, use this to kill the 6 Zombies in the room. Turn left and proceed forward to the next pillar to collect the Rockets. Turn around and head to the opposite side of the room. Turn right and pass the two pillars to collect a 25 Health. Hit the Wall to the left, between the pillars, to reach a small room (#2).
Return to the Silver Door room, then open the Door on the opposite side. Turn right and proceed forward up the small staircase. Turn right to kill the Knight. Proceed forward to the wall, then turn left to kill another Knight. Press the Button on the wall straight ahead to lower the Elevator to the left. Collect the Silver Key on the Elevator. Turn around to kill the 2 Knights that spawn behind you. Return to the Silver Door and proceed through it. Kill the 5 Zombies. Proceed down the corridor to an intersection, though beware of the Sunken Floor that slides open to reveal a river of Lava.
Collect the 2 Shells beside the wall to the left. The left wall has three cage-like structures, the one closest to you is not lit up and can be walked into by going between the vertical structures (#3). Go down the staircase to the right while ignoring the doorway straight ahead. Collect the Shells at the bottom of the staircase, then turn right to kill the 2 Ogres on the opposite side of the river of Lava. Cross the river by walking across the Boat. Ignore the Button straight ahead, instead turning right and proceeding down the alcove to collect the two 25 Health. Return to the Button and shoot it to activate it. Turn around and jump into the Boat to ride down the river of Lava. Turn right at the end to kill the Ogre, then turn straight once more to collect the Gold Key and the 2 Shells. Kill the 2 Scrags that spawn as soon as you pick up the Gold Key. Wait for the Boat to return, then get on it once more. Turn left, then jump off the Boat as soon as you see the outline of a dark passageway (#4).
Return to the previously ignored corridor, then turn right to start heading down it. Turn left at the end of the corridor, then go through the doorway to reach the next room. Turn left to kill the Ogre on the bridge. Proceed forward to the halfway point of the bridge, then turn right to look at the lower bridge suspended over a lake of Lava. Turn around and kill the 2 Ogres on the platform above you. Turn around once more and continue crossing the bridge, going through the doorway at the end. Turn left to collect the 25 Health and kill an Ogre. Follow the staircase straight ahead and veer left as it continues its descent. At the bottom, go through the doorway to the left. Start down the bridge, then collect the 25 Health. Continue crossing to the far side, this was the lower floor where you killed the Ogre. Go onto the Elevator, then turn around at the top to reach the bridge with the 2 Ogres. Cross the bridge that veers slightly to the left, then go through the Gold Door. Head down the corridor, then turn right at the end. Proceed forward through the darkened tunnel to exit the level.
Differences from Easy to Normal
- Fiend beside doorway leading to second level bridge of bridge complex.
Secrets
| Secrets | ||
|---|---|---|
| (#1) |  |
Drop into the pool of Water beside the Silver Door near the start of the level, then collect the Green Armor at the bottom of the well. |
| (#2) |  |
Hit the Wall with a flickering light shining off it that is near the 25 Health in the Grenade Launcher room to reach a small alcove. Collect the Double-Barrelled Shotgun, Shells, and 25 Health inside. |
| (#3) |  |
The corridor just after the Silver Door has three cage-like structures on the left hand side near the intersection. The furthest one from the Silver Door is not lit up, the vertical supports are also a little further apart which means the small alcove beyond is accessible. Collect the Ring of Shadows in the darkened alcove. |
| (#4) | 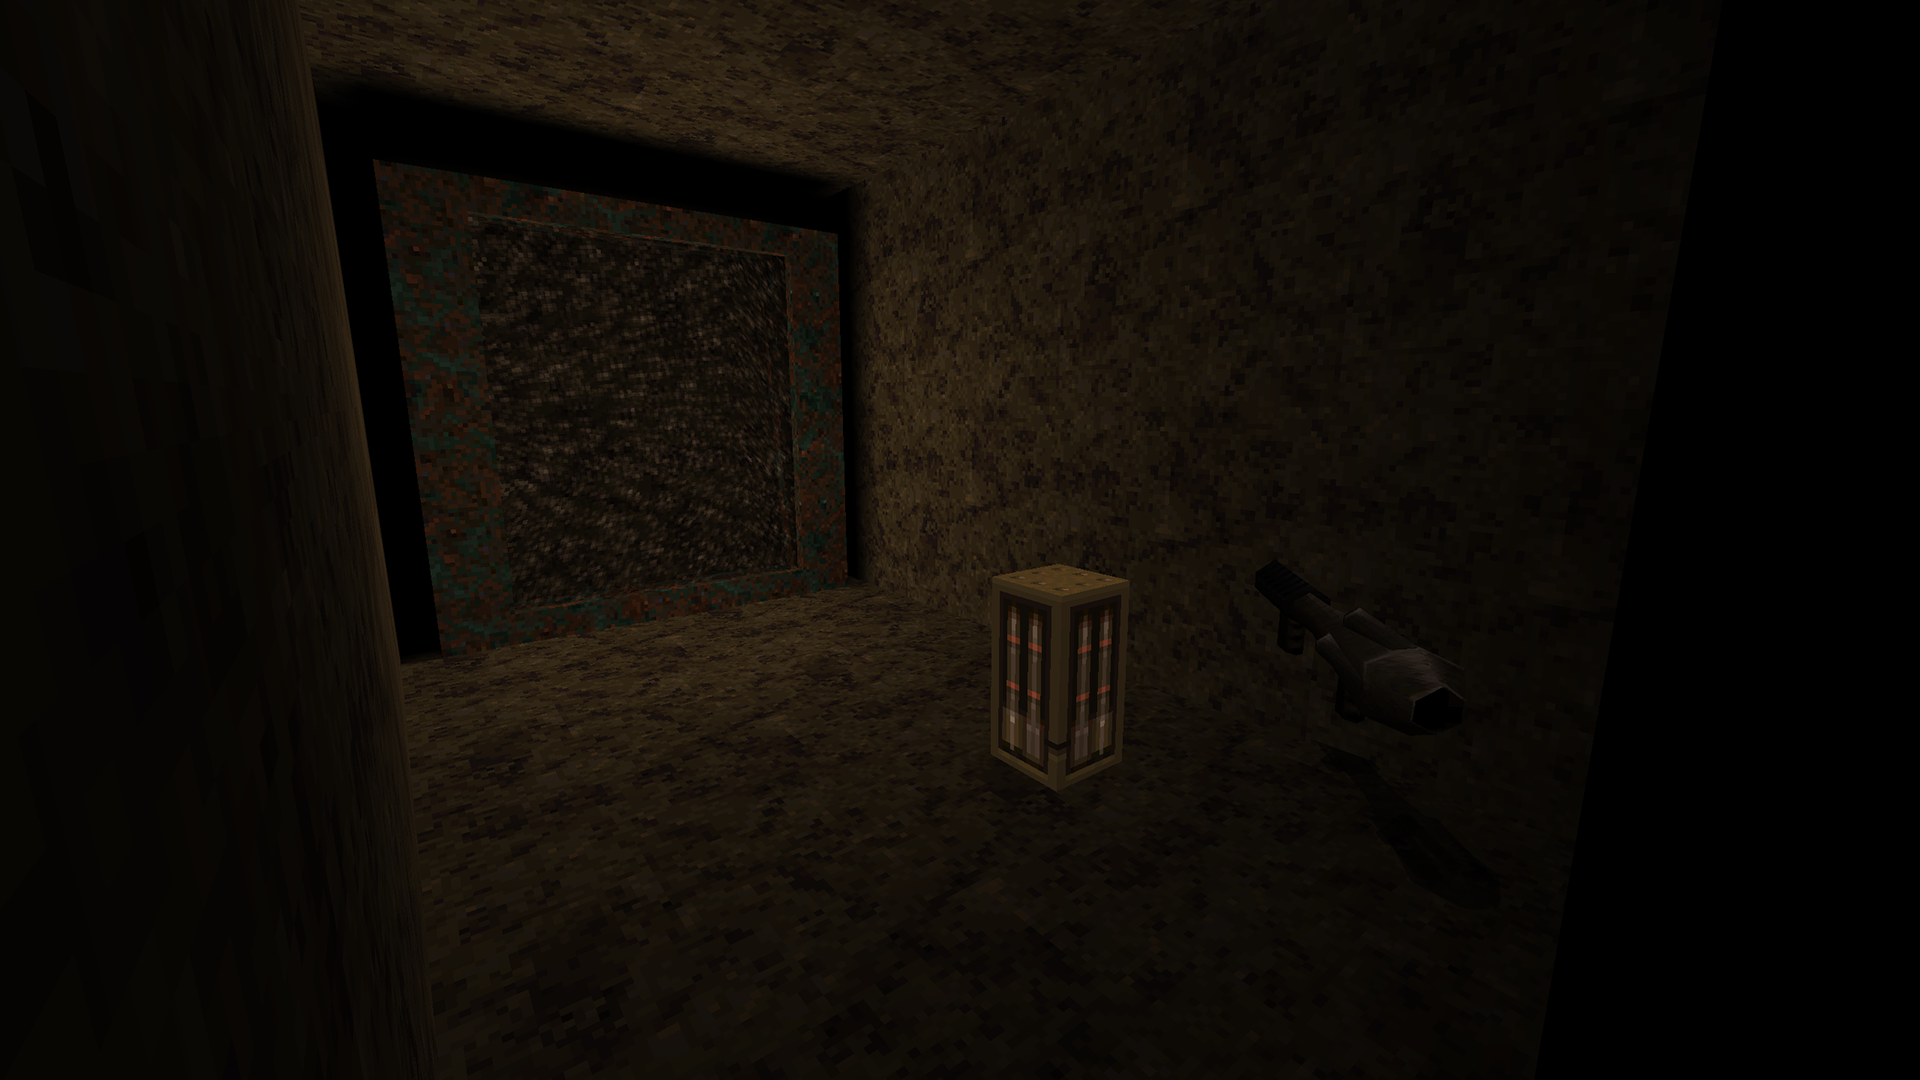 |
Jump off the Boat to reach a small passageway that will be to your right on the journey to the Gold Key and on your left on the return trip. Turn right, then proceed forward to reach the next room. Collect the Rocket Launcher and Rockets in the lower right corner, then use the Teleporter straight ahead to return to the room with the pool of Water. |
Enemies
| Type | Count | ||
|---|---|---|---|
| Easy | Normal | Hard/Nightmare | |
| Zombie | 11 | 11 | 11 |
| Knight | 5 | 5 | 5 |
| Scrag | 2 | 2 | 2 |
| Ogre | 10 | 10 | 10 |
| Fiend | 0 | 1 | 1 |
| Total | 28 | 29 | 29 |
Deathmatch

House of Desolution (Deathmatch)
Differences
- The Silver Door and Gold Door open on proximity
- Nailgun on top of Movable Floor.
- Yellow Armor in Gold Key alcove.
- Nails on second level bridge of bridge complex.
- Nails at bottom of staircase leading from second to first level bridge in bridge complex.
- 2 Nails on first level bridge of bridge complex.
- Red Armor on torch furthest from bridge complex.
- Super Nailgun in exit room.
Spawn Locations
- Staircase leading from second to first level bridge in bridge complex
- First level bridge of bridge complex
- Third level bridge of bridge complex
- Exit room
- Corridor leading to second level bridge of bridge complex
- Movable Floor intersection
- Alcove beside river of Lava
- Alcove of (#4)
- Water room, beside lower staircase
- Water room, drops into (#1)
- Near upper staircase of room near Water room
- Beside Silver Key Elevator
- Halfway point of lower staircase near Water room
- Bottom of lower staircase near Water room
- Halfway point of corridor leading to Grenade Launcher room
- Alcove of (#3)
Alternate Versions
")
")
")
")
")
")
 (168 KB)")
| N/A | Custom Levels | E1M1: the Slipgate Complex |