m (→Secrets) Tag: rte-wysiwyg |
(+Secret images and fixed lines) |
||
| (3 intermediate revisions by 3 users not shown) | |||
| Line 1: | Line 1: | ||
| + | {{Q1}} |
||
| ⚫ | |||
| + | |||
| ⚫ | |||
|game = ''[[Quake Mission Pack 1: Scourge of Armagon|Scourge of Armagon]]'' |
|game = ''[[Quake Mission Pack 1: Scourge of Armagon|Scourge of Armagon]]'' |
||
| − | |episode = [[ |
+ | |episode = [[Episode 2: Dominion of Darkness|Dominion of Darkness]] |
|designer = [[Richard Gray]] |
|designer = [[Richard Gray]] |
||
|previous map = [[HIP2M3: The Catacombs]] |
|previous map = [[HIP2M3: The Catacombs]] |
||
| Line 7: | Line 9: | ||
|enemies =*''Easy'' - 27 |
|enemies =*''Easy'' - 27 |
||
*''Normal'' - 53 |
*''Normal'' - 53 |
||
| − | *''Hard/Nightmare'' - 72 |
+ | *''Hard/Nightmare'' - 70 (72) |
|secrets = 6 |
|secrets = 6 |
||
| − | |new weapons = |
||
| − | |new powerups = |
||
| − | |new enemies = |
||
|image = [[File:Hip2m4.png|300px]] |
|image = [[File:Hip2m4.png|300px]] |
||
| − | |level theme =[[Runic]]<br>[[Wizard]] |
+ | |level theme =[[Runic]]<br>[[Wizard]]}} |
| − | |new obstacles = }} |
||
'''The Crypt''' is the fourth level of [[Episode 2: Dominion of Darkness|Dominion of Darkness]]. Emerging from the same coffin where the previous level ended, the player finds himself in an eerie burial ground, where numerous [[Spike Mine]]s lurk in the shadows. The level is mostly indoors and features several tomb-like rooms, a tombstone workshop, and several large spacious halls. |
'''The Crypt''' is the fourth level of [[Episode 2: Dominion of Darkness|Dominion of Darkness]]. Emerging from the same coffin where the previous level ended, the player finds himself in an eerie burial ground, where numerous [[Spike Mine]]s lurk in the shadows. The level is mostly indoors and features several tomb-like rooms, a tombstone workshop, and several large spacious halls. |
||
| Line 20: | Line 18: | ||
Coming soon... |
Coming soon... |
||
| − | ==Walkthrough |
+ | ==Walkthrough== |
Coming soon... |
Coming soon... |
||
| Line 30: | Line 28: | ||
==Secrets== |
==Secrets== |
||
| + | {| class="wikitable" |
||
| − | * '''#1): '''In the room with the coffins and tables, jump on the stepladder and then onto the top-left shelf (the one Cells are placed on) to reveal an alcove on the other side of the room with a '''[[Horn of Conjuring]]'''. |
||
| + | !colspan=3| Secrets |
||
| − | * '''#2): '''In the same room as #1, walk onto the open coffin with a skull symbol inside to be teleported to a secret with [[15 Health|'''15 Health''']] items, [[Shells|'''Shells''']], [[Nails|'''Nails''']], and the [[Mjolnir|'''Mjolnir''']]. |
||
| + | |- |
||
| ⚫ | |||
| − | + | | '''(#1)''' || [[File:S1HIP2M4.png|250px|center]] || In the room with the coffins and tables, jump on the stepladder and then onto the top-left shelf (the one '''[[Cell (Q1)|Cells]]''' are placed on) to reveal an alcove on the other side of the room with a '''[[Horn of Conjuring]]'''. |
|
| + | |- |
||
| ⚫ | |||
| − | + | | '''(#2)''' || [[File:S2HIP2M4.png|250px|center]] || In the same room as '''<span style=font-size:85%>''[[#Secrets|(#1)]]''</span>''', walk onto the open coffin with a skull symbol inside to be teleported to a secret with '''[[15 Health]]''' items, '''[[Shell (Q1)|Shells]]''', '''[[Nail (Q1)|Nails]]''', and the '''[[Mjolnir]]'''. |
|
| + | |- |
||
| + | | '''(#3)''' || [[File:S3HIP2M4.png|250px|center]] || Jump to the opened metal door, there is a '''[[Button]]''' here. Press it and jump to the opened area to get a '''[[Proximity Launcher (SoA)|Proximity Launcher]]'''. |
||
| + | |- |
||
| ⚫ | | '''(#4)''' || [[File:S4HIP2M4.png|250px|center]] || Use the jump pad in the corridor to the right of the beginning of the map to reach the lever that gives you access to the '''[[Pentagram of Protection]]'''. Before you touch the lever, turn around and jump on the beam behind you and then on the ledge in front of you: the wall will open to reveal a secret with '''[[Rocket (Q1)|Rockets]]'''. |
||
| + | |- |
||
| ⚫ | |||
| + | |- |
||
| + | | '''(#6)''' || [[File:S6HIP2M4.png|250px|center]] || Right of the alcove with the '''[[Gold Key]]''', look at the wall to the right to see a small door. Jump on the ledge and shimmy to it to reach a secret with '''[[Shell (Q1)|Shells]]''', '''[[Nail (Q1)|Nails]]''', a '''[[Laser Cannon]]''' and a platform that will take you to the '''[[Red Armor]]''' visible from the scaffold. |
||
| + | |} |
||
| + | |||
| + | ==Enemies== |
||
| + | {|{{Enemy Chart}} |
||
| + | |- |
||
| + | ! rowspan=2 valign="center" style="font-size:150%" | Type |
||
| + | ! colspan=3 style="font-size:150%" | Count |
||
| + | ! rowspan=2 valign="center" style="font-size:150%" | Notes |
||
| + | |- |
||
| + | ! Easy |
||
| + | ! Normal |
||
| + | ! Hard/Nightmare |
||
| + | |- |
||
| + | !'''[[Horn of Conjuring]] [[Monster (Q1)|Monster]]''' |
||
| + | ! style="font-size:90%" |1 |
||
| + | ! style="font-size:90%" |1 |
||
| + | ! style="font-size:90%" |1 |
||
| + | ! style="font-size:90%; font-weight:normal"| |
||
| + | |- |
||
| + | !'''[[Rottweiler]]''' |
||
| + | ! style="font-size:90%" |1 |
||
| + | ! style="font-size:90%" |1 |
||
| + | ! style="font-size:90%" |4 |
||
| + | ! style="font-size:90%; font-weight:normal"| |
||
| + | |- |
||
| + | !'''[[Zombie (Q1)|Zombie]]''' |
||
| + | ! style="font-size:90%" |8 |
||
| + | ! style="font-size:90%" |9 |
||
| + | ! style="font-size:90%" |8 |
||
| + | ! style="font-size:90%; font-weight:normal"| |
||
| + | |- |
||
| + | !'''[[Knight]]''' |
||
| + | ! style="font-size:90%" |8 |
||
| + | ! style="font-size:90%" |5 |
||
| + | ! style="font-size:90%" |1 |
||
| + | ! style="font-size:90%; font-weight:normal"| |
||
| + | |- |
||
| + | !'''[[Scrag]]''' |
||
| + | ! style="font-size:90%" |1 |
||
| + | ! style="font-size:90%" |8 |
||
| + | ! style="font-size:90%" |9 |
||
| + | ! style="font-size:90%; font-weight:normal"| |
||
| + | |- |
||
| + | !'''[[Gremlin]]''' |
||
| + | ! style="font-size:90%" |5 |
||
| + | ! style="font-size:90%" |8 |
||
| + | ! style="font-size:90%" |9 |
||
| + | ! style="font-size:90%; font-weight:normal"| |
||
| + | |- |
||
| + | !'''[[Ogre]]''' |
||
| + | ! style="font-size:90%" |0 |
||
| + | ! style="font-size:90%" |6 |
||
| + | ! style="font-size:90%" |8 |
||
| + | ! style="font-size:90%; font-weight:normal"| |
||
| + | |- |
||
| + | !'''[[Spike Mine]]''' |
||
| + | ! style="font-size:90%" |0 |
||
| + | ! style="font-size:90%" |4 |
||
| + | ! style="font-size:90%" |6 (8) |
||
| + | ! style="font-size:90%; font-weight:normal"|On High and Nightmare skill levels '''2 [[Spike Mines]]''' don't spawn. |
||
| + | |- |
||
| + | !'''[[Death Knight]]''' |
||
| + | ! style="font-size:90%" |2 |
||
| + | ! style="font-size:90%" |7 |
||
| + | ! style="font-size:90%" |10 |
||
| + | ! style="font-size:90%; font-weight:normal"| |
||
| + | |- |
||
| + | !'''[[Fiend]]''' |
||
| + | ! style="font-size:90%" |1 |
||
| + | ! style="font-size:90%" |4 |
||
| + | ! style="font-size:90%" |8 |
||
| + | ! style="font-size:90%; font-weight:normal"| |
||
| + | |- |
||
| + | !'''[[Vore]]''' |
||
| + | ! style="font-size:90%" |0 |
||
| + | ! style="font-size:90%" |0 |
||
| + | ! style="font-size:90%" |4 |
||
| + | ! style="font-size:90%; font-weight:normal"| |
||
| + | |- |
||
| + | !'''[[Shambler]]''' |
||
| + | ! style="font-size:90%" |0 |
||
| + | ! style="font-size:90%" |0 |
||
| + | ! style="font-size:90%" |2 |
||
| + | ! style="font-size:90%; font-weight:normal"| |
||
| + | |- |
||
| + | !'''Total''' |
||
| + | !27 |
||
| + | !53 |
||
| + | !70 (72) |
||
| + | ! style="font-size:90%; font-weight:normal"| |
||
| + | |} |
||
==Glitches== |
==Glitches== |
||
*After loading [[HIP2M1]] or [[HIP2M2]], this level will crash in [[GLQuake]] due to texture conflicts, specifically because of [[:file:metal5_6.png|metal5_6]] and [[:file:metal5_6a.png|metal5_6]]. This can be evaded by simply renaming the metal5_6 texture in hip2m4.bsp. |
*After loading [[HIP2M1]] or [[HIP2M2]], this level will crash in [[GLQuake]] due to texture conflicts, specifically because of [[:file:metal5_6.png|metal5_6]] and [[:file:metal5_6a.png|metal5_6]]. This can be evaded by simply renaming the metal5_6 texture in hip2m4.bsp. |
||
| − | *On |
+ | *On Hard and Nightmare difficulty, two [[Spike Mines]] are unused because they are placed too close to the walls. |
==Deathmatch== |
==Deathmatch== |
||
===Differences=== |
===Differences=== |
||
| − | Coming soon... |
||
| − | |||
| − | ==External Links== |
||
Coming soon... |
Coming soon... |
||
| Line 55: | Line 149: | ||
{{Template:Quake Level Order|||previous level = [[HIP2M3: The Catacombs]] |
{{Template:Quake Level Order|||previous level = [[HIP2M3: The Catacombs]] |
||
|next level = [[HIP2M5: Mortum's Keep]]}} |
|next level = [[HIP2M5: Mortum's Keep]]}} |
||
| + | __NOEDITSECTION__ |
||
[[Category:Scourge of Armagon levels]] |
[[Category:Scourge of Armagon levels]] |
||
Revision as of 16:01, 14 March 2020
![]()
The Crypt is the fourth level of Dominion of Darkness. Emerging from the same coffin where the previous level ended, the player finds himself in an eerie burial ground, where numerous Spike Mines lurk in the shadows. The level is mostly indoors and features several tomb-like rooms, a tombstone workshop, and several large spacious halls.
Quick Level Completion
Coming soon...
Walkthrough
Coming soon...
Differences from Easy to Normal
Coming soon...
Differences from Normal to Hard/Nightmare
Coming soon...
Secrets
| Secrets | ||
|---|---|---|
| (#1) | 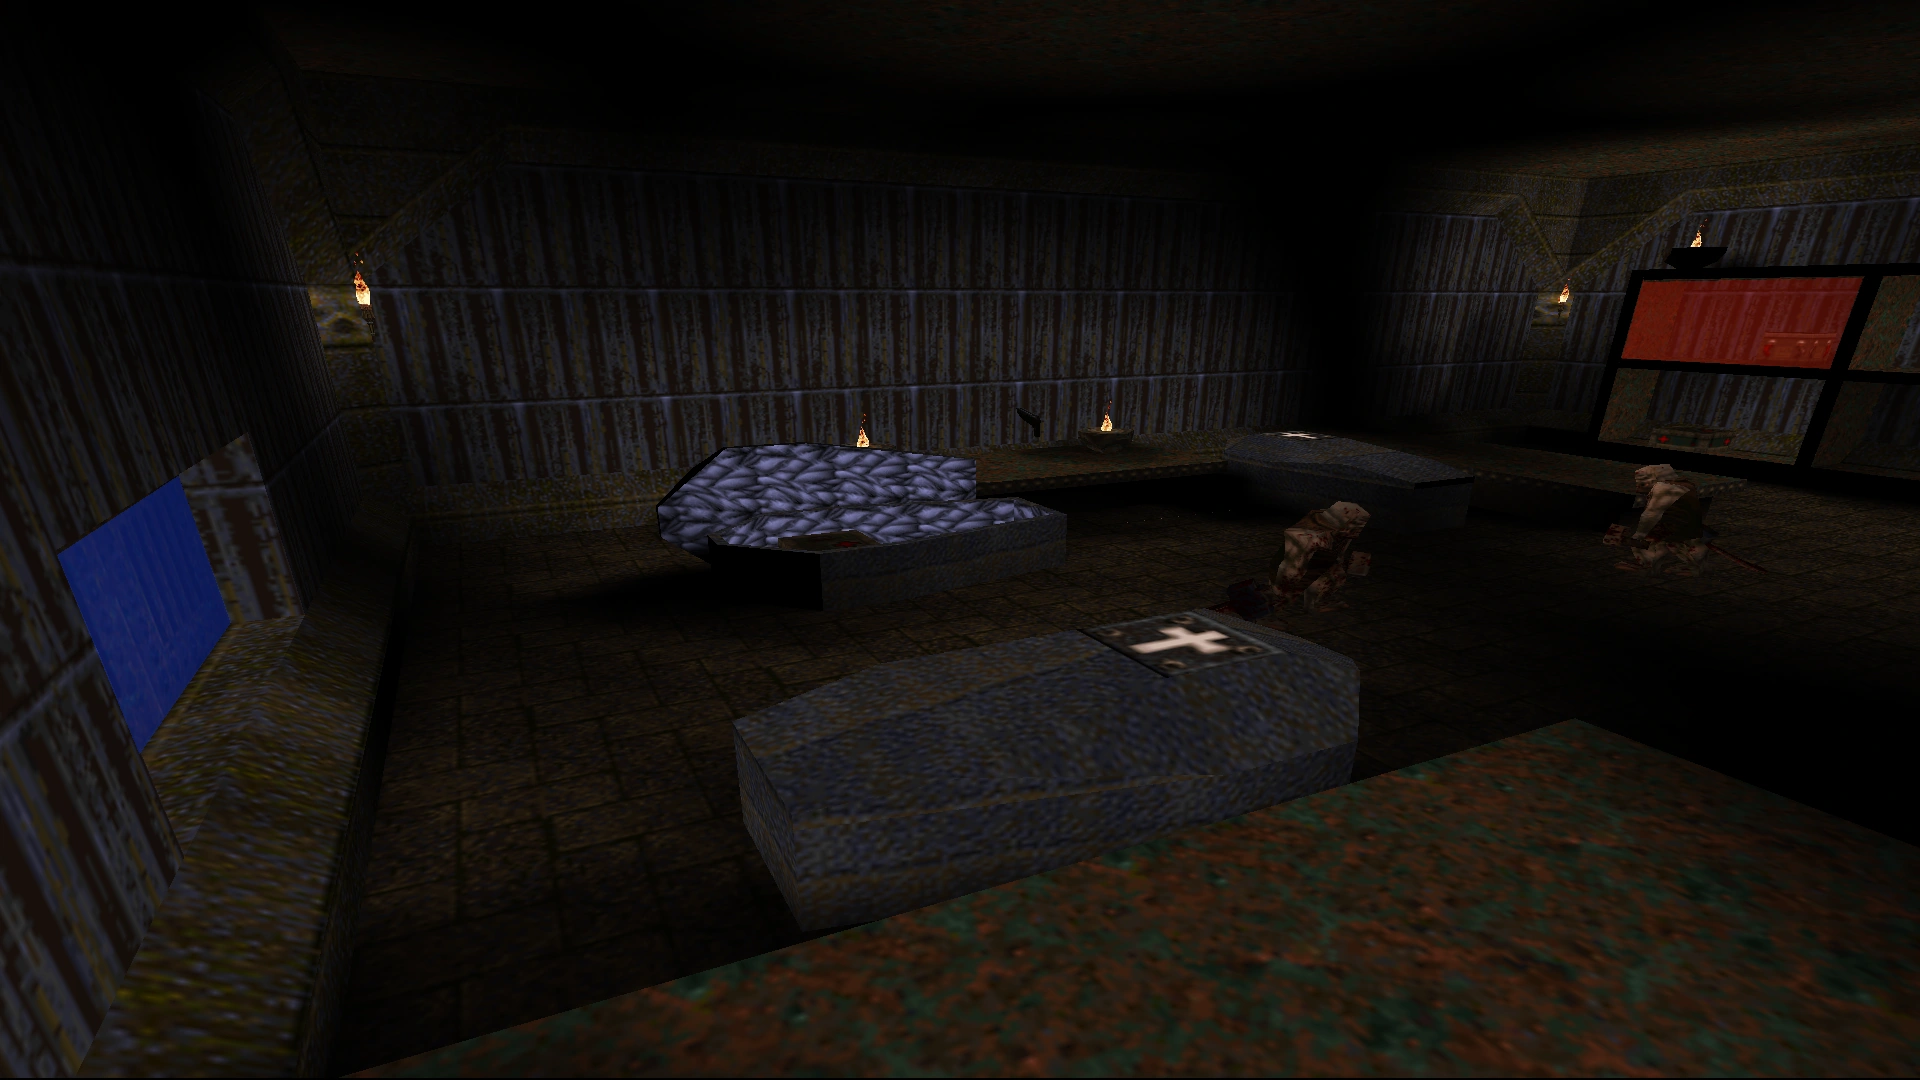 |
In the room with the coffins and tables, jump on the stepladder and then onto the top-left shelf (the one Cells are placed on) to reveal an alcove on the other side of the room with a Horn of Conjuring. |
| (#2) | 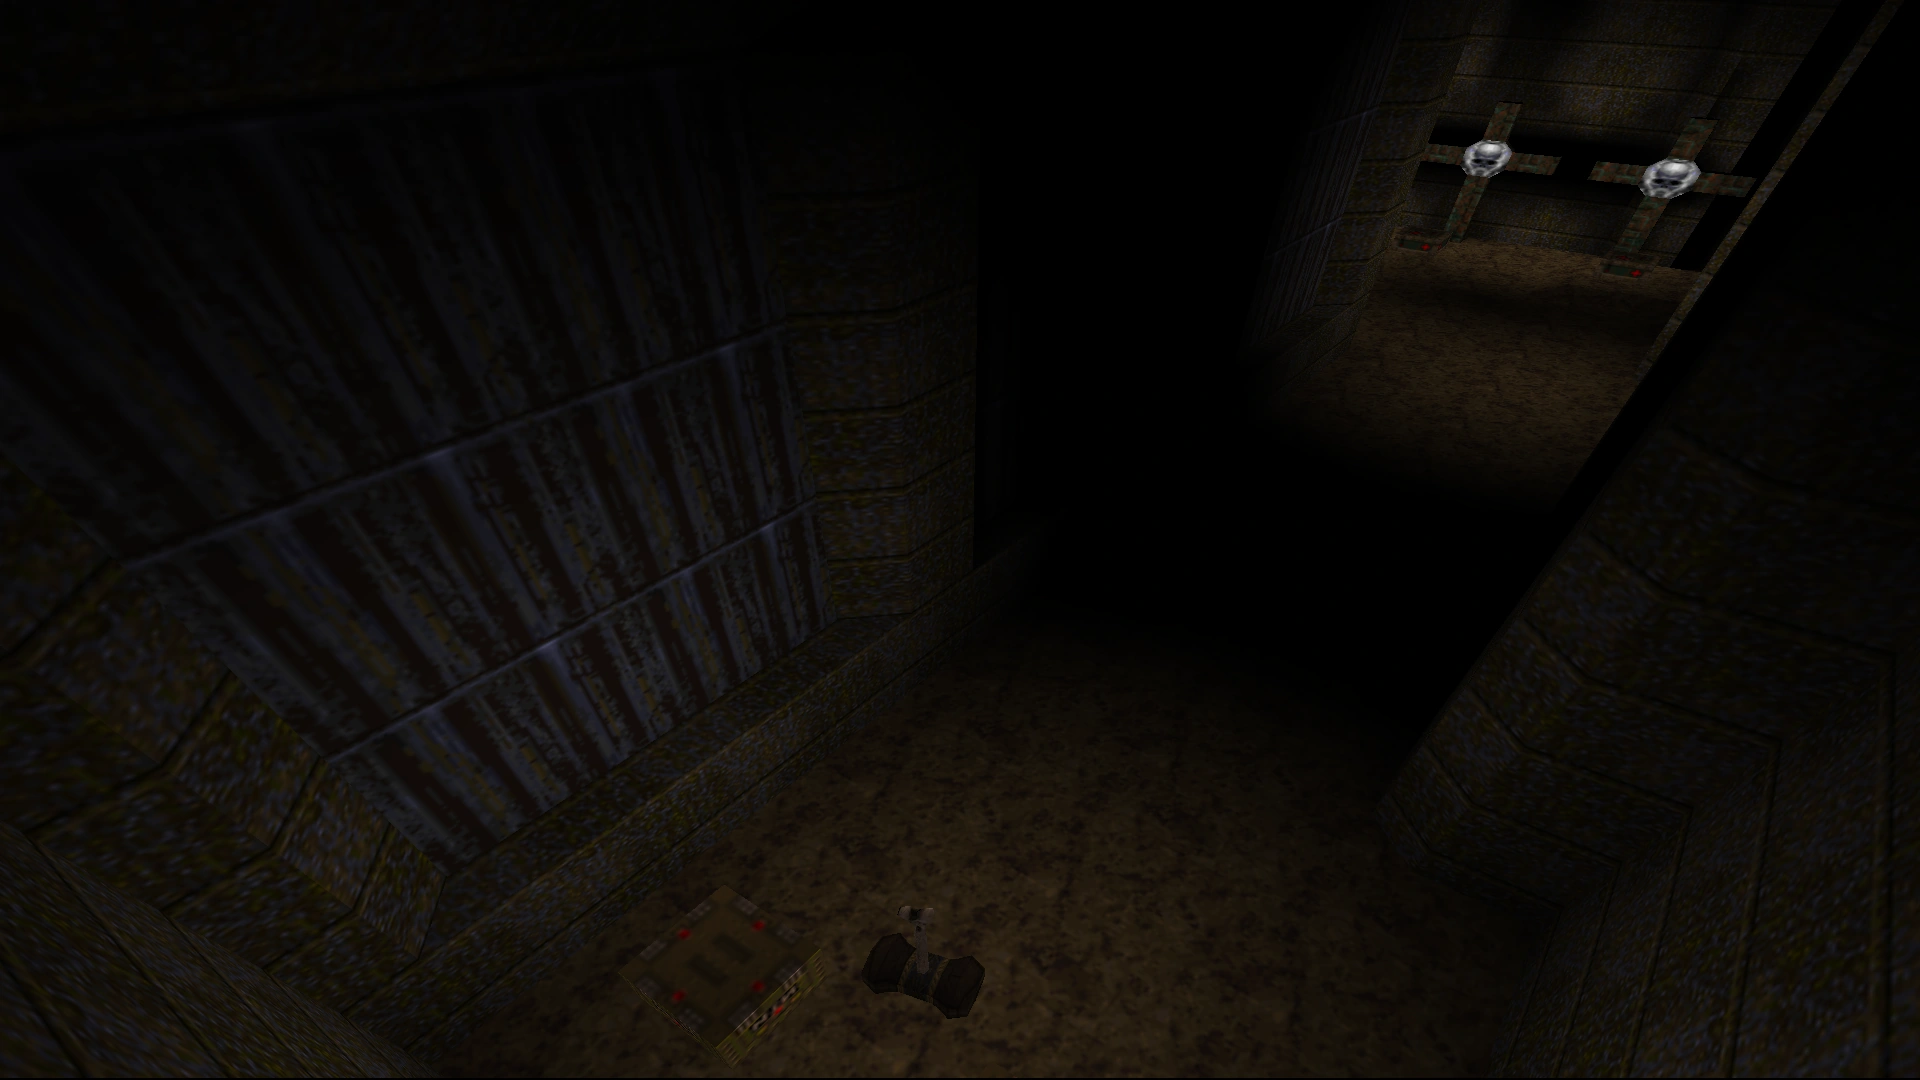 |
In the same room as (#1), walk onto the open coffin with a skull symbol inside to be teleported to a secret with 15 Health items, Shells, Nails, and the Mjolnir. |
| (#3) | 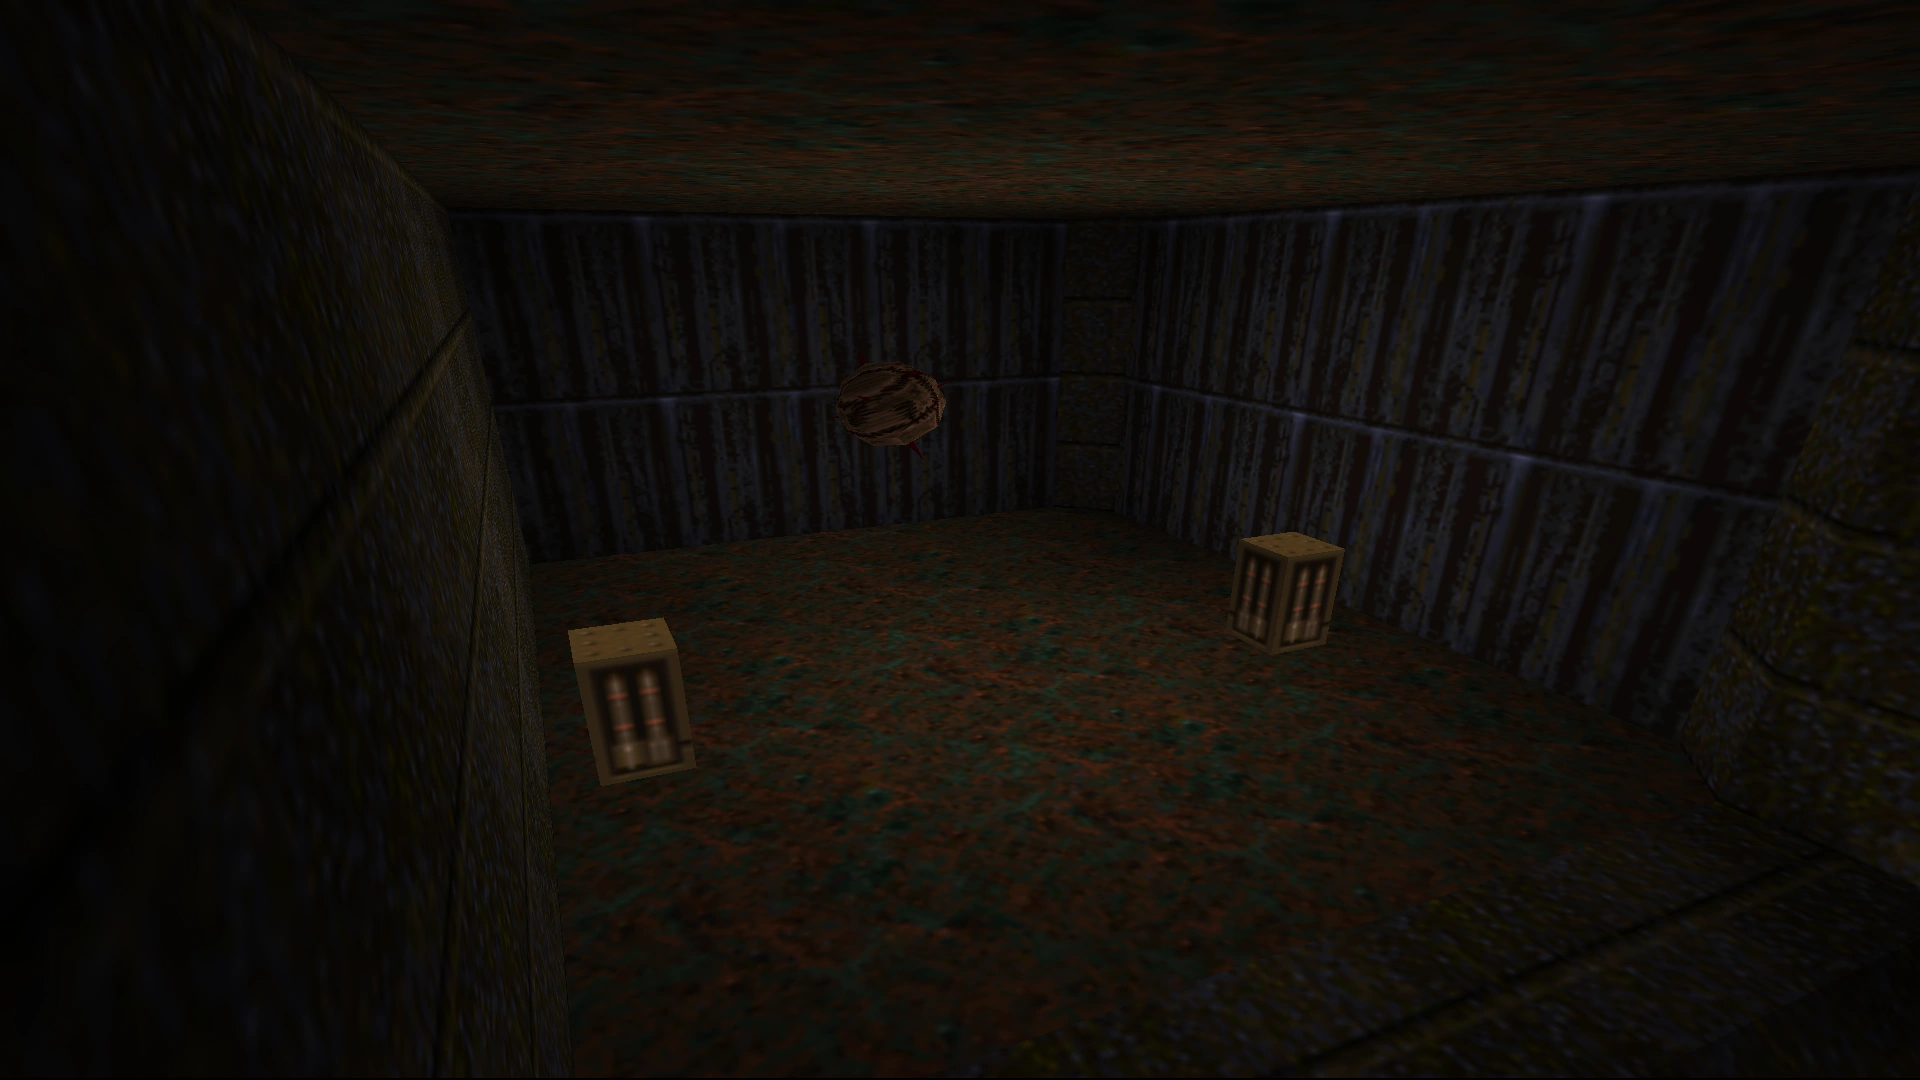 |
Jump to the opened metal door, there is a Button here. Press it and jump to the opened area to get a Proximity Launcher. |
| (#4) |  |
Use the jump pad in the corridor to the right of the beginning of the map to reach the lever that gives you access to the Pentagram of Protection. Before you touch the lever, turn around and jump on the beam behind you and then on the ledge in front of you: the wall will open to reveal a secret with Rockets. |
| (#5) |  |
In the tombstone workshop, jump on top of the tombstones piled into a corner to reveal a secret with an Empathy Shield. |
| (#6) | 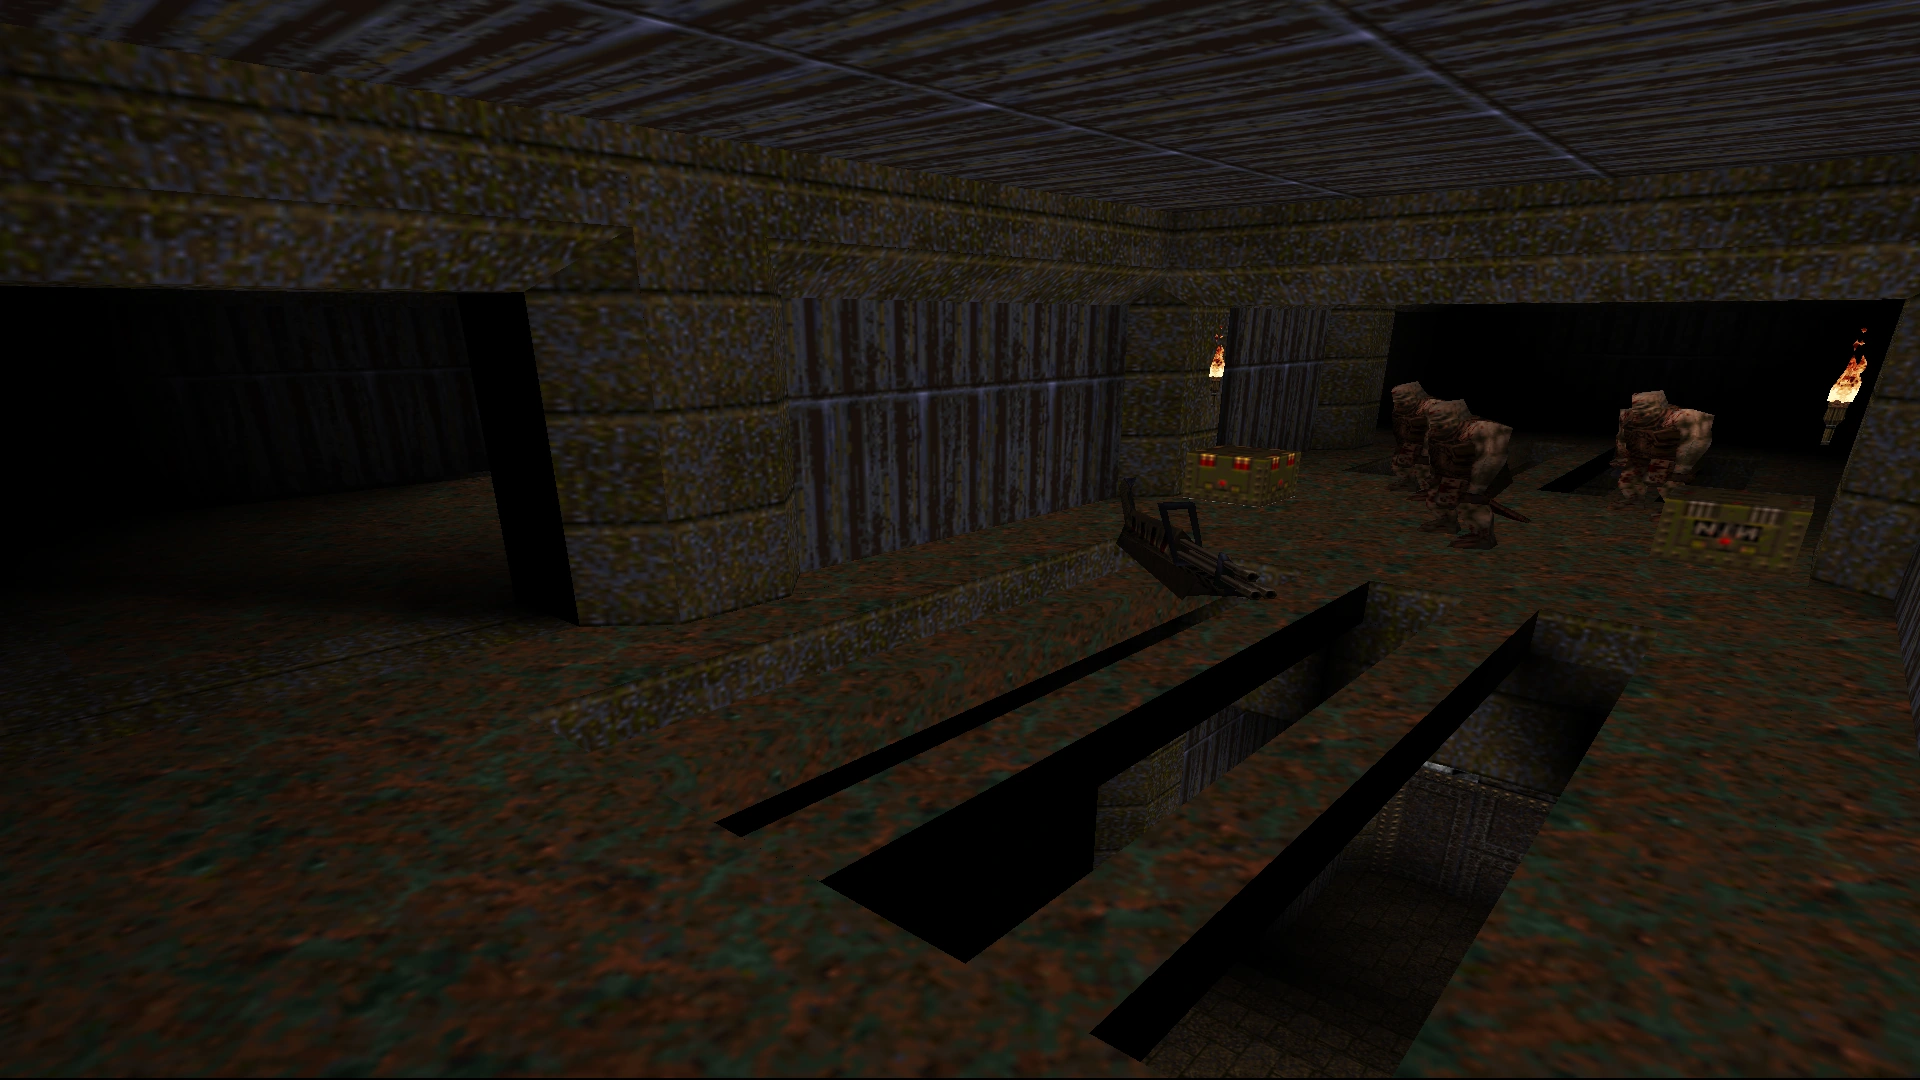 |
Right of the alcove with the Gold Key, look at the wall to the right to see a small door. Jump on the ledge and shimmy to it to reach a secret with Shells, Nails, a Laser Cannon and a platform that will take you to the Red Armor visible from the scaffold. |
Enemies
| Type | Count | Notes | ||
|---|---|---|---|---|
| Easy | Normal | Hard/Nightmare | ||
| Horn of Conjuring Monster | 1 | 1 | 1 | |
| Rottweiler | 1 | 1 | 4 | |
| Zombie | 8 | 9 | 8 | |
| Knight | 8 | 5 | 1 | |
| Scrag | 1 | 8 | 9 | |
| Gremlin | 5 | 8 | 9 | |
| Ogre | 0 | 6 | 8 | |
| Spike Mine | 0 | 4 | 6 (8) | On High and Nightmare skill levels 2 Spike Mines don't spawn. |
| Death Knight | 2 | 7 | 10 | |
| Fiend | 1 | 4 | 8 | |
| Vore | 0 | 0 | 4 | |
| Shambler | 0 | 0 | 2 | |
| Total | 27 | 53 | 70 (72) | |
Glitches
- After loading HIP2M1 or HIP2M2, this level will crash in GLQuake due to texture conflicts, specifically because of metal5_6 and metal5_6. This can be evaded by simply renaming the metal5_6 texture in hip2m4.bsp.
- On Hard and Nightmare difficulty, two Spike Mines are unused because they are placed too close to the walls.
Deathmatch
Differences
Coming soon...
Video
 - Map 4 (The Crypt) (24 KB)")
Quake 1 Scourge Of Armagon - Episode 2 (Dominion Of Darkness) - Map 4 (The Crypt)
The Walkthrough of The Crypt.
| HIP2M3: The Catacombs | Quake Levels | HIP2M5: Mortum's Keep |